

It’s New York Fashion Week again and we’re celebrating with a dessert inspired by Tory Burch! I’ve taken the pattern from her T Monogram Tote and put it on a swiss roll cake! The pattern is actually baked INTO the cake, so no frosting necessary! You decorate it before it gets baked, then all you need to do is fill it, roll it and serve!
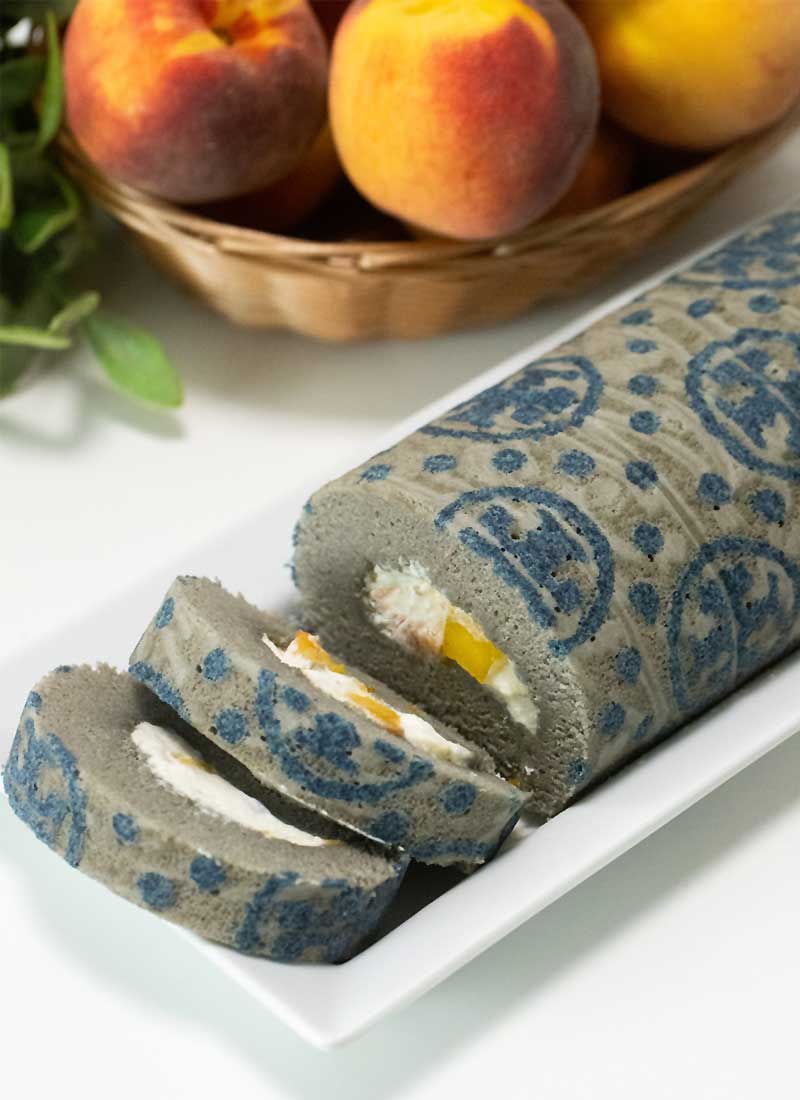
Tory Burch’s monogram pattern is quite detailed and complex, so to make my life and baking process a THOUSAND times easier, I created a little stencil that I printed out and placed onto the jelly roll pan, under the parchment paper. It helped so much with creating a consistent, evenly-spaced pattern! I have the pattern available for you at the bottom of this post (or click to get it here!). Simply right click to save the image and then print it on a standard 8.5″x11″ sheet of paper. Just make sure that you stretch the pattern over the entire sheet of paper – no margins if possible!
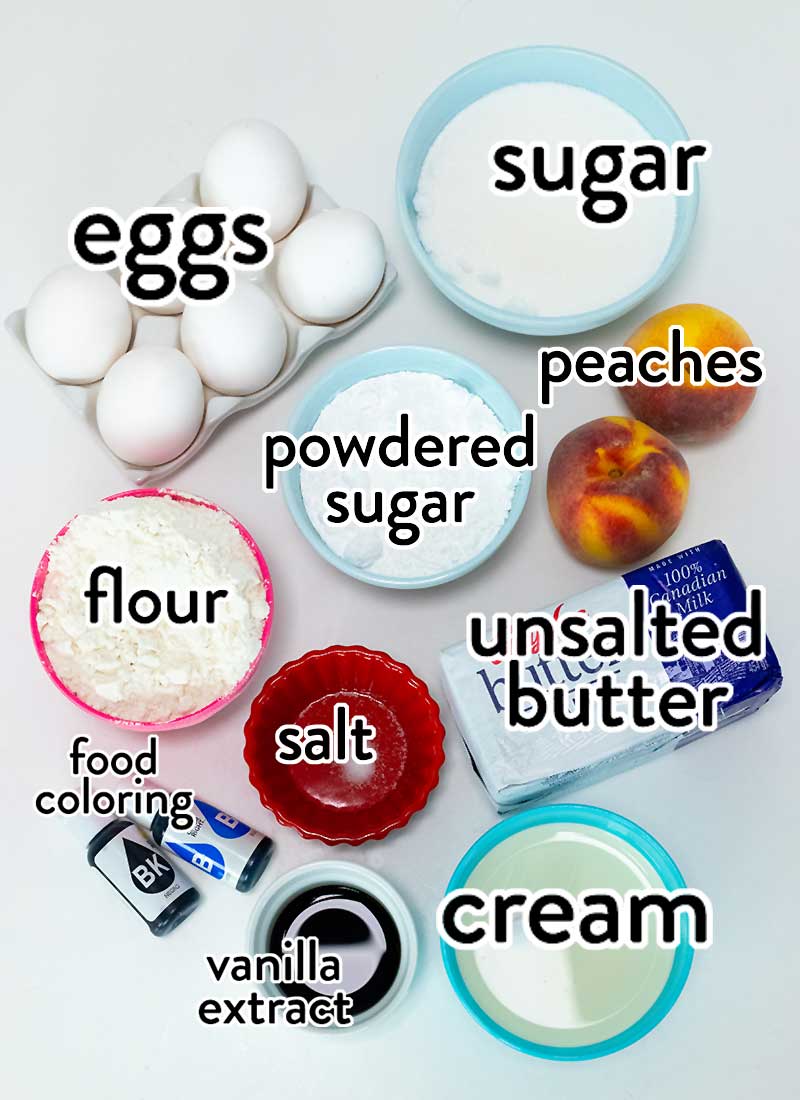
Tory Burch Roll Cake Ingredients
Helpful Tools
- jelly roll pan
- wax paper
- parchment paper
- piping bag
- #3 piping tip
- mixing bowls
- measuring spoons and cups
- spatula
- electric mixer
- kitchen towels
- the Tory Burch bag, if you’re feeling extra!
How to Make my Tory Burch Monogram Roll Cake
Make the monogram pattern:
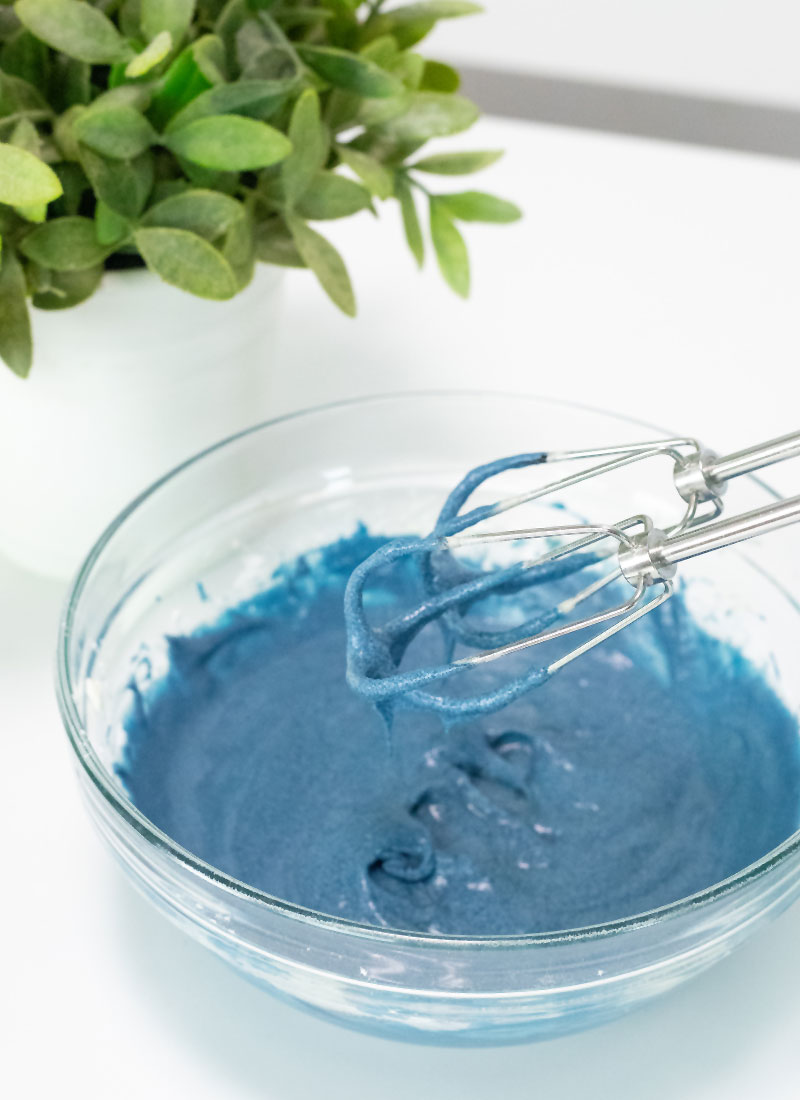
Beat the butter with an electric mixer until light and fluffy. Add the sugar and beat until combined. Add the eggs whites, vanilla extract and a couple drops of blue and black food coloring to create a navy blue color. Beat until combined. Add the flour on low speed.
Place the batter into a piping bag fitted with a small, round piping tip.
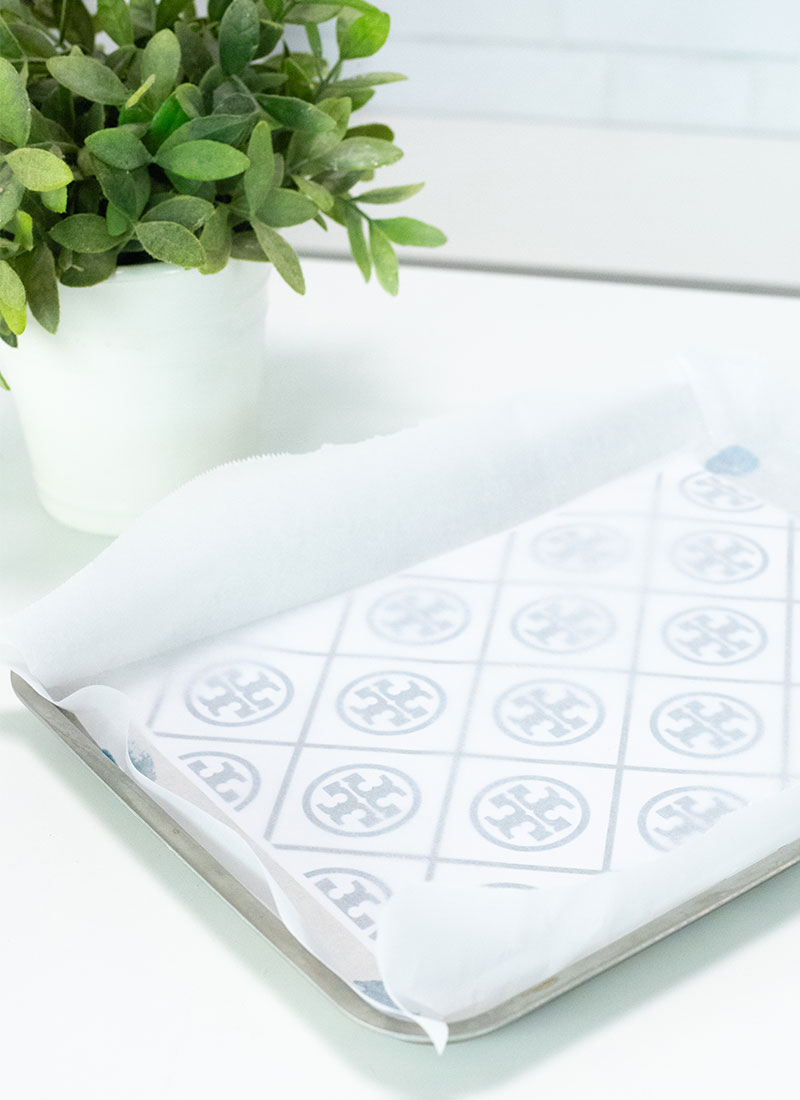
Line a 14”x10” swiss roll pan with a printout of the pattern (get it here), then a larger sheet of parchment paper. Pipe the monogram pattern onto the parchment paper, using the paper pattern as a guide. Use a toothpick to sharpen the edges and help with the detailed work. Do not pipe on the grid lines! That is a guide for the next step!

At each intersection of the grid, pipe one dollop of batter. Then pipe 3 dollops on the lines between the grid.
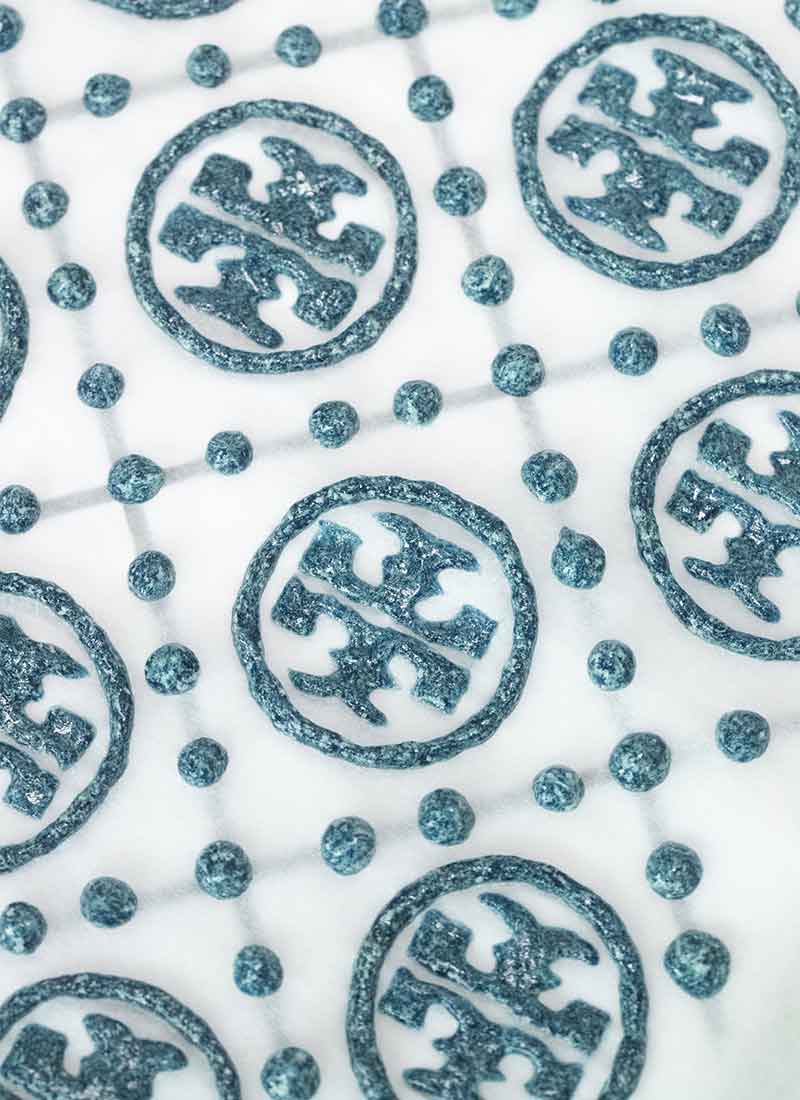
Transfer the pan to the freezer and freeze for at least 1 hour. (I left mine in the freezer overnight and it came out totally fine!)
Make the cake batter:
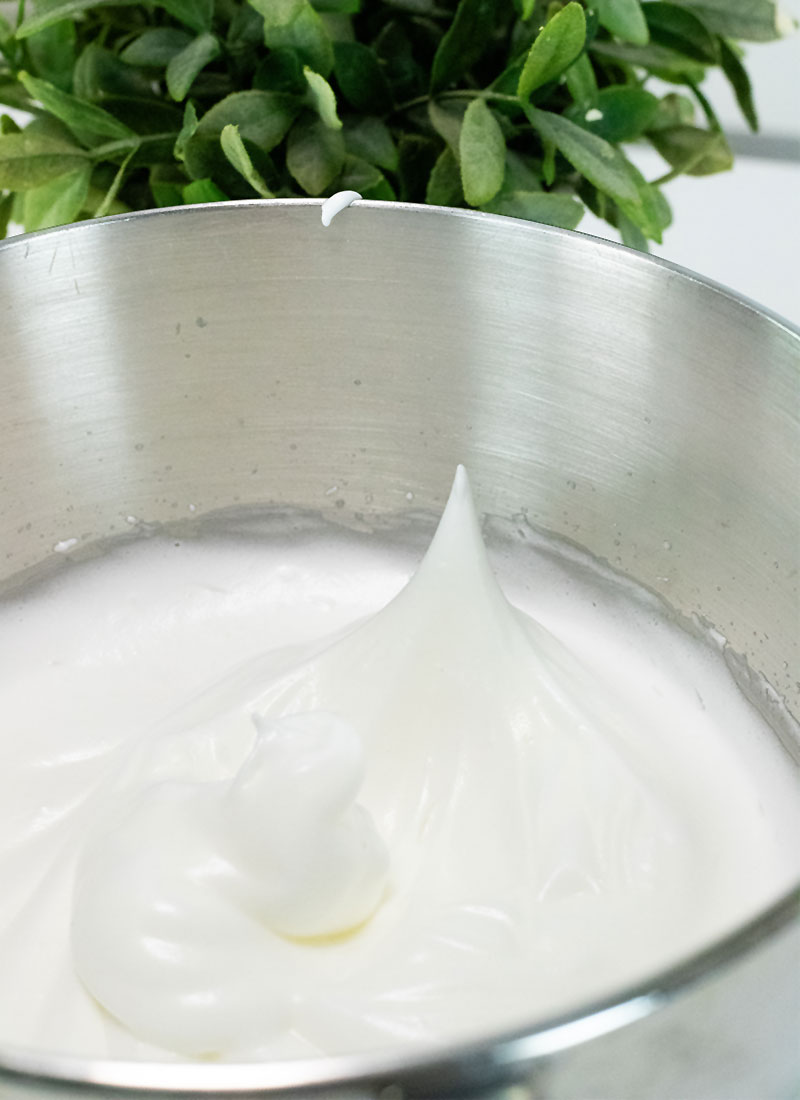
Beat the 6 egg whites and salt with an electric mixer until soft peaks form. Add half of the sugar and beat until stiff, glossy peaks are formed.
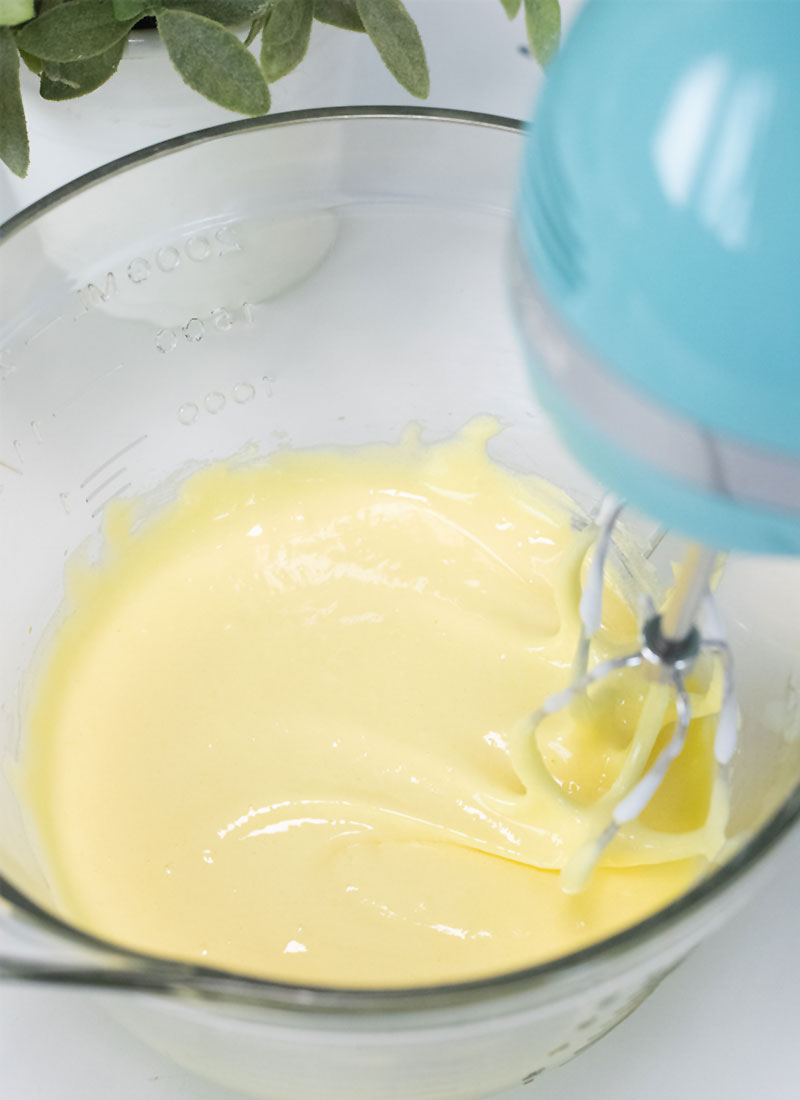
In a separate bowl, beat the egg yolks and remaining sugar with an electric mixer until pale and doubled in volume. Gradually add the vanilla extract and butter and mix until well combined. Add the flour to the batter in 2 additions, alternating with the egg whites. Dye the batter a pale grey. You can use a teeny amount of blue food coloring to add a slight warmth to the grey and create a more cohesive look with the navy blue pattern. Gently fold to combine.
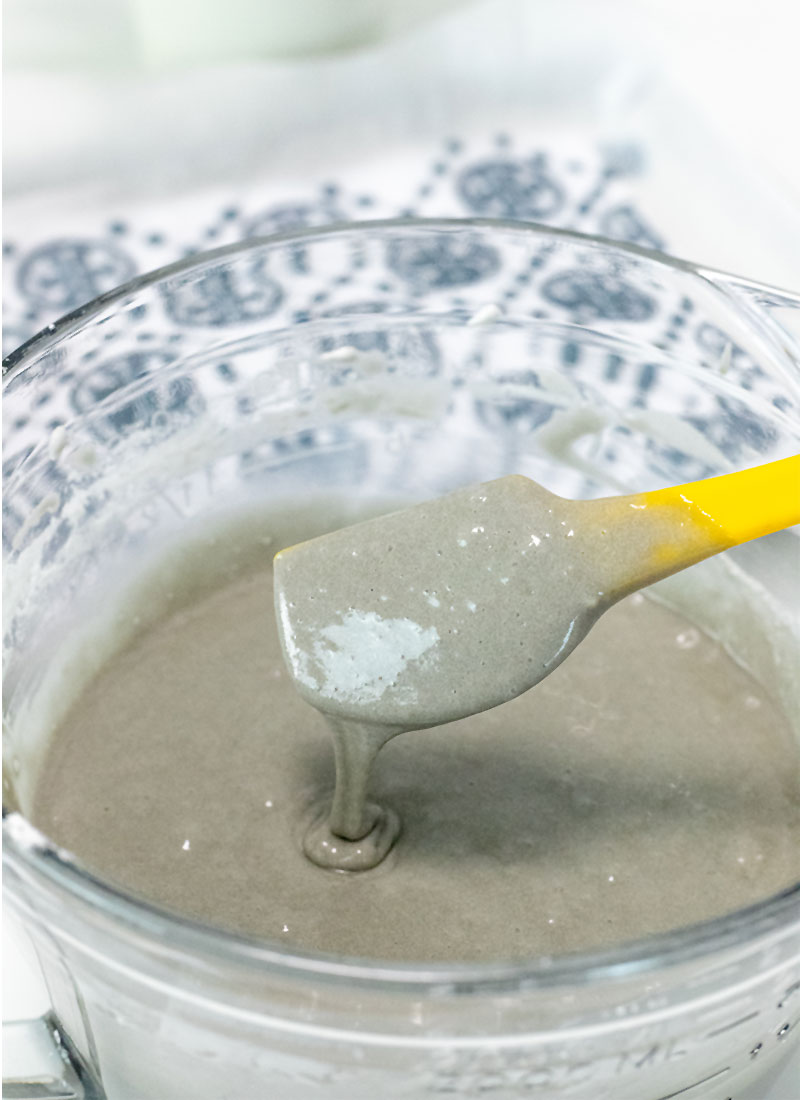
Pour the batter into the swiss roll cake pan, on top of the pattern. Gently smooth the surface and bake at 350F for 13-15 minutes, until the edges are golden.
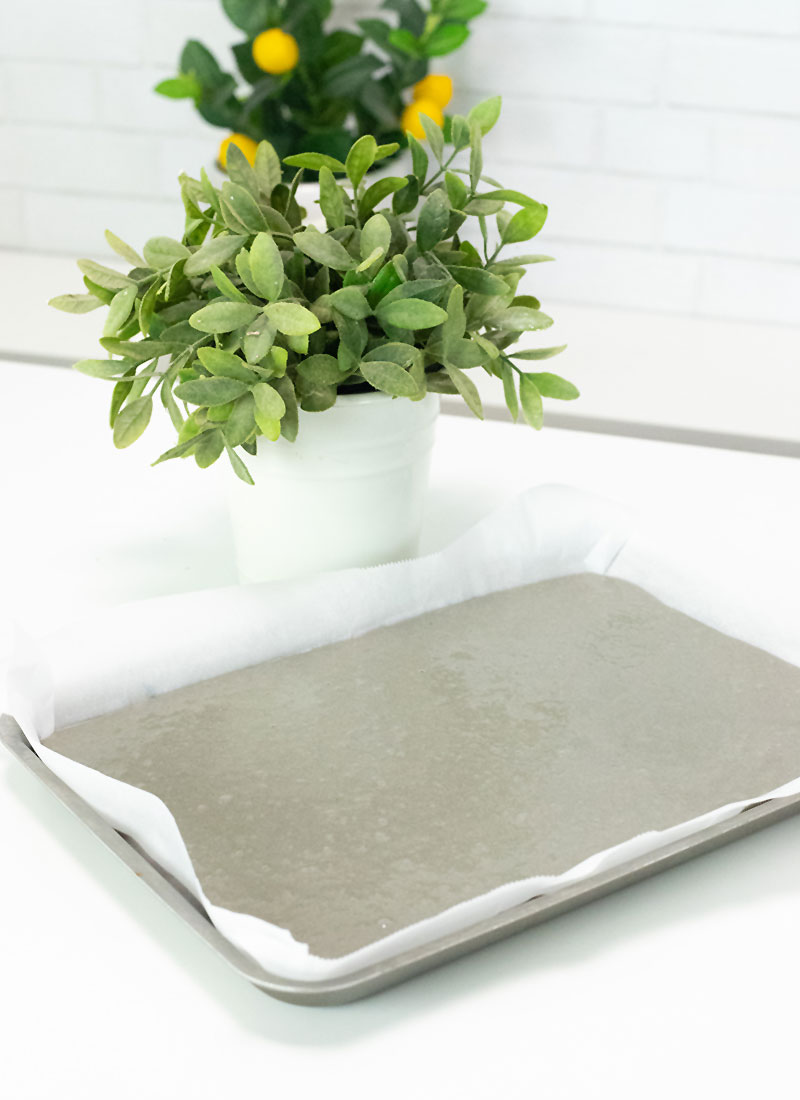
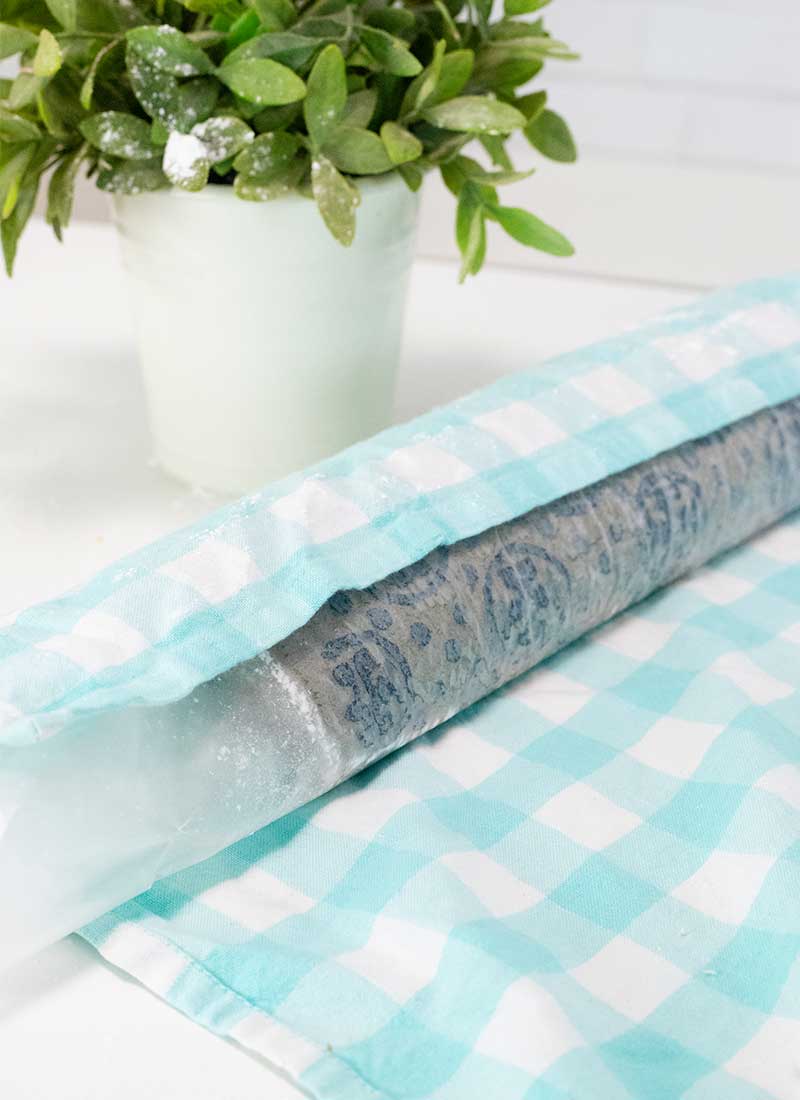
Dust a large sheet of wax paper with powdered sugar. As soon as the cake comes out of the oven, invert it onto the wax paper. Peel off the top layer of parchment paper, place another layer of wax paper on top, then invert again, so that the patterned side is facing down. Starting at one long end, gently roll the cake up. Wrap in a kitchen towel and cool completely.
Make the filling:

Beat the whipping cream with an electric mixer until soft peaks form. Add the powdered sugar, vanilla extract and beat until stiff peaks form. Gently fold the fresh peach into the cream.
Assembly:
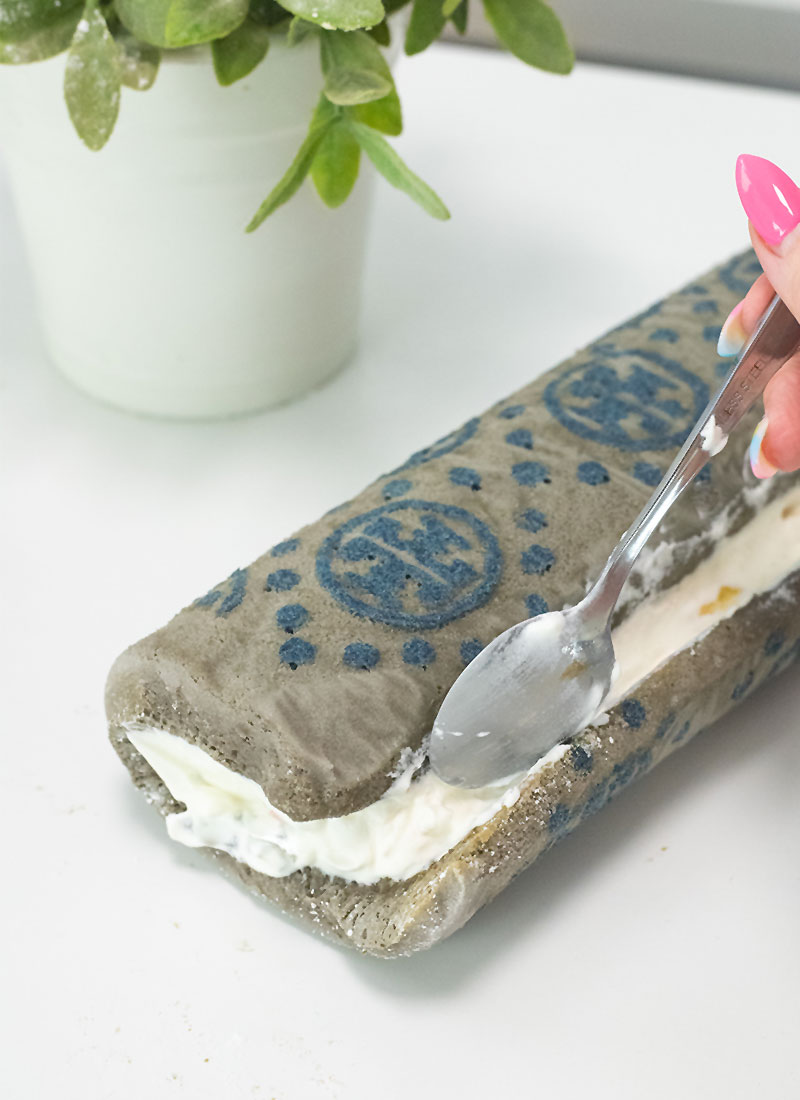
Gently unroll the cake and peel off the wax paper. For an extra flavorful cake, heat the peach jam in the microwave for about 30 seconds, until hot and liquidy. Use a pastry brush to brush the jam onto the inside of the cake. Spoon the cream filling into the cake and gently roll it back up again.

Wrap the cake in plastic wrap and chill in the fridge for 4 hours, or up to overnight.
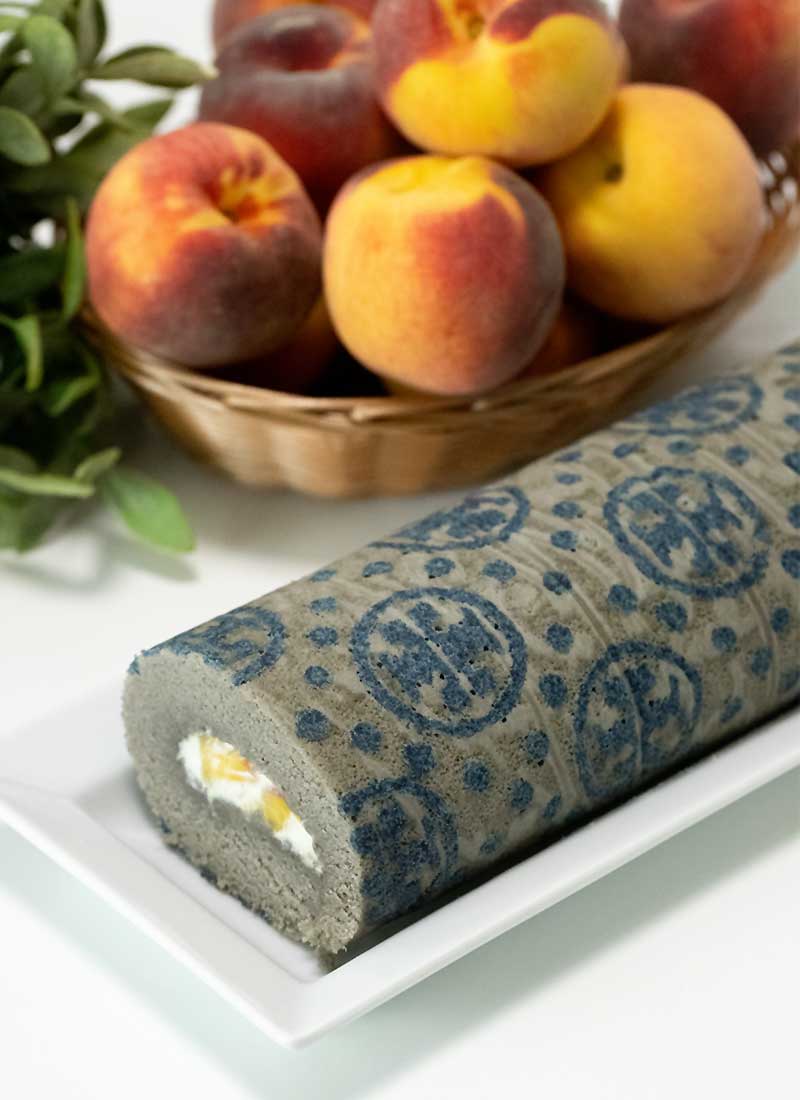
Slice off the ends to create a clean look and enjoy!

Other Fashion Recipes to Try
Charlotte Olympia Cat Flat Cookie Pops
Christian Louboutin Marshmallows
Chanel Cherry-Flavored Chocolate Truffles
Tory Burch Monogram Swiss Roll Cake Pattern
Simply right click to save the image and then print it on a standard 8.5″x11″ sheet of paper. Print it without margins if possible – it will create a larger pattern that will fit your jelly roll pan!

Other Roll Cake Recipes to Try

Tory Burch Monogram Roll Cake
Equipment
Ingredients
Pattern:
- 2/3 cup all-purpose flour
- ½ cup powdered sugar
- 3 tbsp unsalted butter room temperature
- 3 large egg whites
- ¼ tsp vanilla extract
- blue and black food coloring
Cake Batter:
- 5 tbsp unsalted butter melted and cooled
- 6 large eggs yolks and white separated
- 1 cup sugar
- 1 cup all-purpose flour
- pinch salt
- 2 tsp vanilla extract
- blue and black food coloring
Filling:
- 1 cup whipping cream cold
- 3 tbsp powdered sugar
- 1 1/2 tsp vanilla extract
- 1 peach diced
- 2 tbsp peach jam optional
Instructions
Make the monogram pattern:
- Beat the butter with an electric mixer until light and fluffy. Add the powdered sugar and beat until combined. Add the eggs whites, vanilla extract and a couple drops of blue and black food coloring to create a navy blue color. Beat until combined. Add the flour on low speed.
- Place the batter into a piping bag fitted with a small, round piping tip.
- Line a 14”x10” swiss roll pan with a printout of the pattern (get it here), then a larger sheet of parchment paper. Pipe the monogram pattern onto the parchment paper, using the paper pattern as a guide. Use a toothpick to sharpen the edges and help with the detailed work. Do not pipe on the grid lines! This is a guide for the next step: At each intersection of the grid, pipe one dollop of batter. Then pipe 3 dollops on the lines between the grid.
- Transfer the pan to the freezer and freeze for at least 1 hour. I left mine in the freezer overnight and it came out totally fine!
Make the cake batter:
- Beat the 6 egg whites and salt with an electric mixer until soft peaks form. Add half of the sugar and beat until stiff, glossy peaks are formed.
- In a separate bowl, beat the egg yolks and remaining sugar with an electric mixer until pale and doubled in volume. Gradually add the vanilla extract and butter and mix until well combined.
- Add the flour to the batter in 2 additions, alternating with the egg whites. Dye the batter a pale grey. You can use a teeny amount of blue food coloring to add a slight warmth to the grey and create a more cohesive look with the navy blue pattern. Gently fold to combine.
- Pour the batter into the swiss roll cake pan, on top of the pattern. Gently smooth the surface and bake at 350F for 13-15 minutes, until the edges are golden.
- Dust a large sheet of wax paper with powdered sugar. As soon as the cake comes out of the oven, invert it onto the wax paper. Peel off the top layer of parchment paper, place another layer of wax paper on top, then invert again, so that the patterned side is facing down. Starting at one long end, gently roll the cake up. Wrap in a kitchen towel and cool completely.
Make the filling:
- Beat the whipping cream with an electric mixer until soft peaks form. Add the powdered sugar, vanilla extract and beat until stiff peaks form.
- Gently fold the fresh peach into the cream.
Assembly:
- Gently unroll the cake and peel off the wax paper. For an extra flavorful cake, heat the peach jam in the microwave for about 30 seconds, until hot and liquidy. Use a pastry brush to brush the jam onto the inside of the cake.
- Spoon the cream filling into the cake and gently roll it back up again.
- Wrap the cake in plastic wrap and chill in the fridge for 4 hours, or up to overnight.
- Slice off the ends to create a clean look and enjoy!
Nutrition


