
Instead of classic graham crackers, this no bake cheesecake has a crust made of cereal treats! I used Lucky Charms cereal, making it a perfect fit for St. Patrick’s Day, but this would be delicious any time of the year.
My classic no-bake cheesecake filling, which is used in this recipe, typically requires gelatin to help set it. However, you can also omit the gelatin and water (which is used to bloom the gelatin), chill the cake in the freezer instead and still enjoy this recipe! You may have to let it warm at room temperature for about 30 minutes for the crust to thaw, but the filling will definitely hold up!
Ingredients for Lucky Charms Cereal Cheesecake

- butter – you can either use salted or unsalted butter! I prefer unsalted butter because I find that it oddly highlights the flavor of the cereal treat better than salted butter, which can make it taste a little flat.
- marshmallows – mini marshmallows are easier to measure, but any size will work!
- Lucky Charms cereal – the star of the show!
- cooking spray – this is VERY necessary because of how sticky the cereal treats get! You want to spray this into the pan before you add the crust as well as your hands as you’re pressing the crust into the pan. It’s going to be a sticky nightmare if you don’t!
- vanilla extract – pure vanilla extract is the best and will give you the best depth of flavor. You can also substitute it for vanilla beans! 1 tsp vanilla extract is equivalent to the seeds of 1 vanilla bean pod
- white chocolate – this is to coat the crust before we add the filling. The filling can make the crust soggy and the chocolate acts as a delicious barrier, keeping the crust nice and crispy and the filling smooth and creamy. You can use milk or dark chocolate, but I used white because aesthetically it looks better when the cake is sliced and it has a more neutral “sweet” flavor that is less distinctly chocolatey.
How to Make Lucky Charms Cereal Cheesecake
Step 1: Make the crust.
Place the butter and marshmallows in a large bowl and microwave for 30-second increments, until both the butter and marshmallows have melted. Stir at each interval. Add the vanilla extract and mix well.
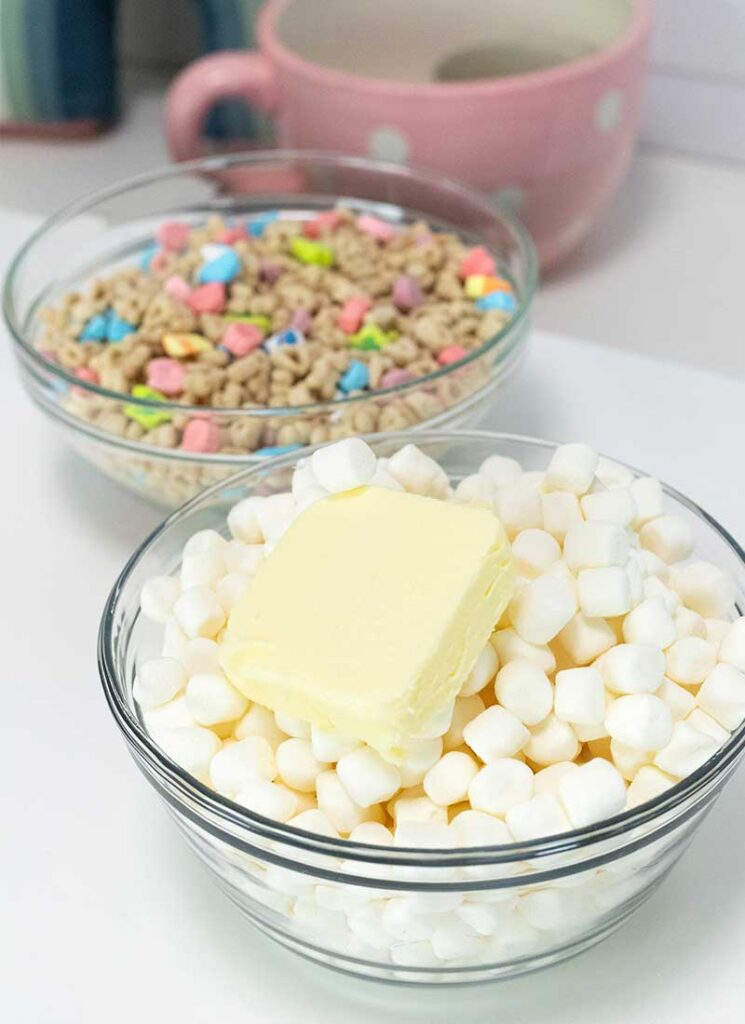

Add the lucky charms and mix until they are evenly incorporated into the melted marshmallow.
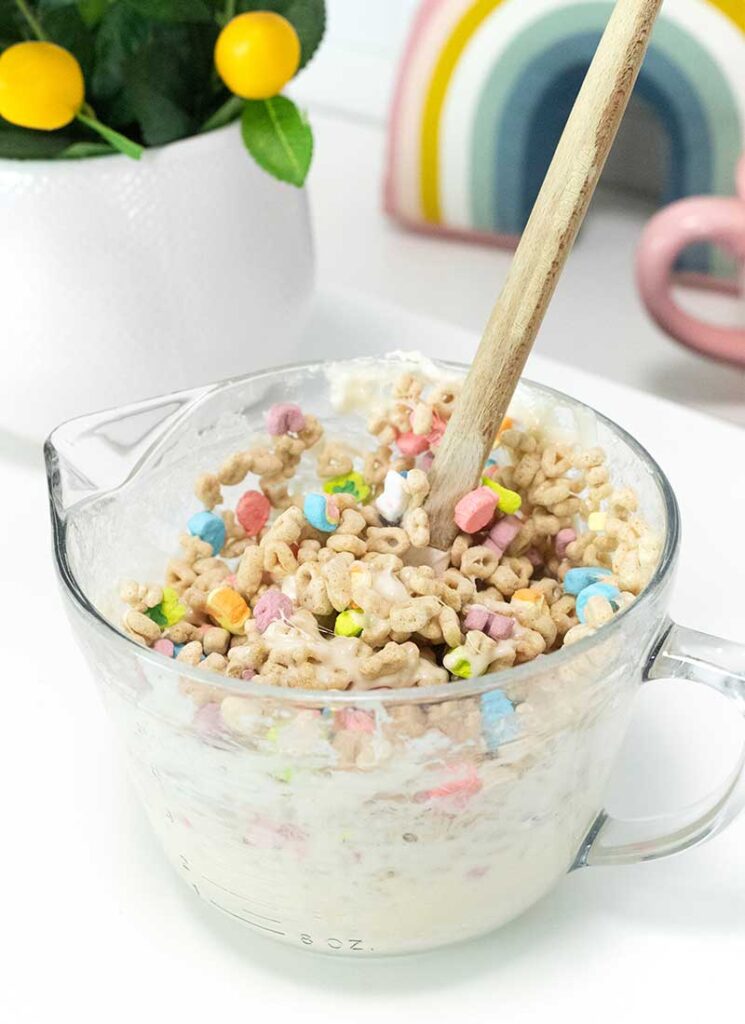
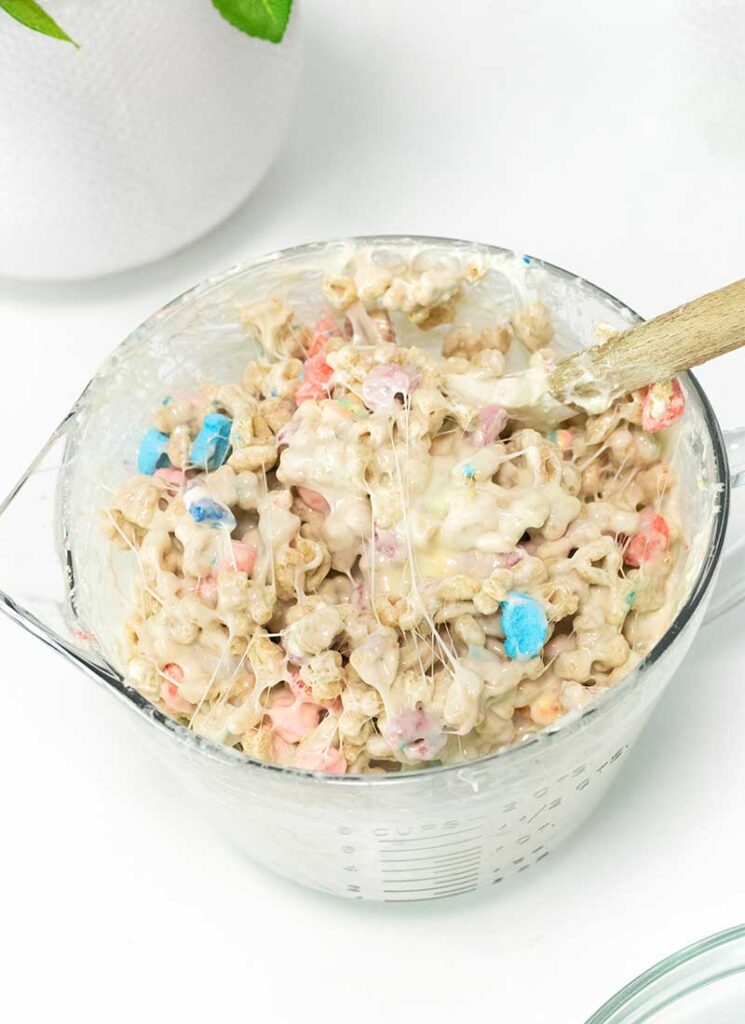
Spray the inside of a 9” round springform pan with cooking spray. Press the cereal treat mixture into the base and sides of the pan. You can use your hands or a flat-bottomed cup to help do this, but be sure to spray them with cooking spray first so that they don’t stick! Place the pan in the fridge to stiffen for 20 minutes.
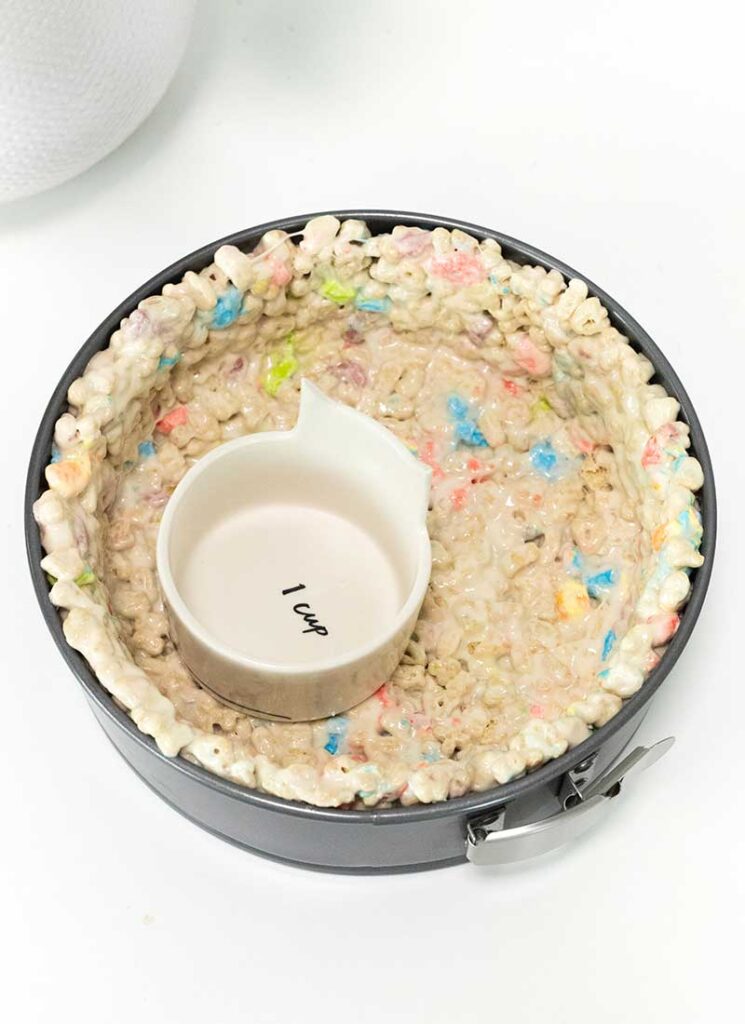

Use a spatula to evenly spread the melted white chocolate onto the bottom and sides of the crust. This will act as a barrier between the crust and the filling, preventing the crust from getting soggy. Return this to the fridge while you make the filling.

Step 2: Make the filling.
Place the cream cheese and sugar in a large bowl and beat with an electric mixer until smooth. Add the whipping cream, lemon juice and vanilla extract and mix until well combined.

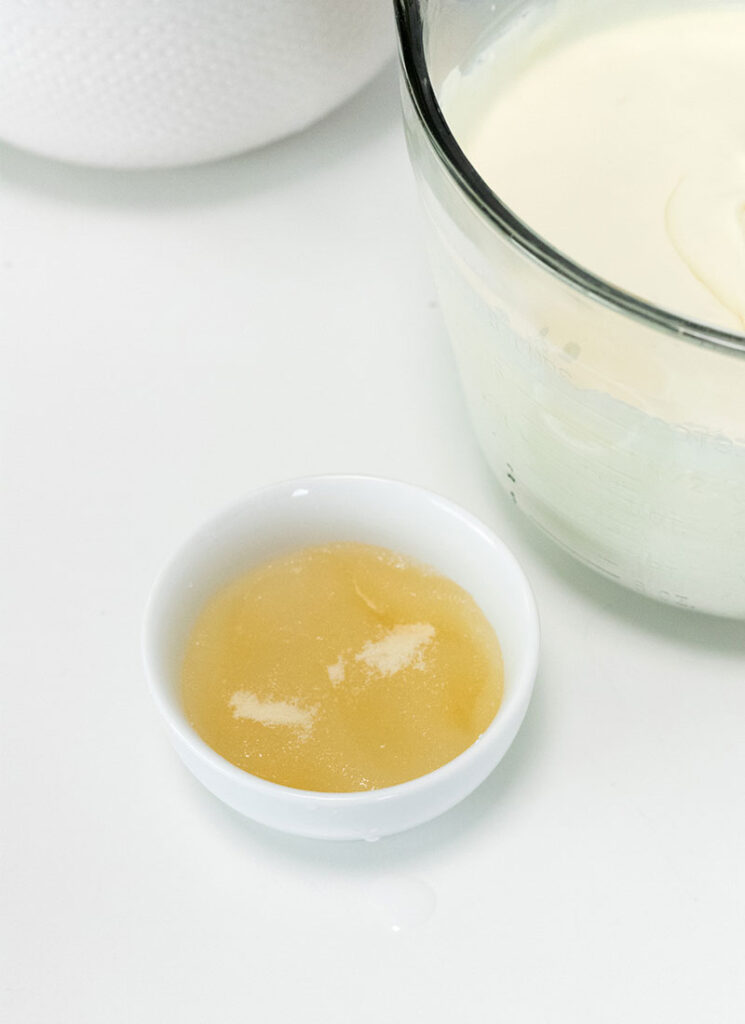
Combine the gelatin and the water in a small bowl and let the gelatin bloom for about 5 minutes. Then place the bowl in the microwave and heat for 30 seconds, until the gelatin is liquid. Pour this into the cheesecake mixture and mix until fully combined.
Pour the filling into the prepared crust and smooth the surface. Chill the cake in the fridge for about 6 hours or up to overnight.

To serve:
Unlatch the sides of the springform pan and gently lift the sides off the cake.
Right before serving, scatter the extra lucky charms marshmallows on top of the cheesecake. The marshmallows will soften from the moisture of the cheesecake, so this is very important!!
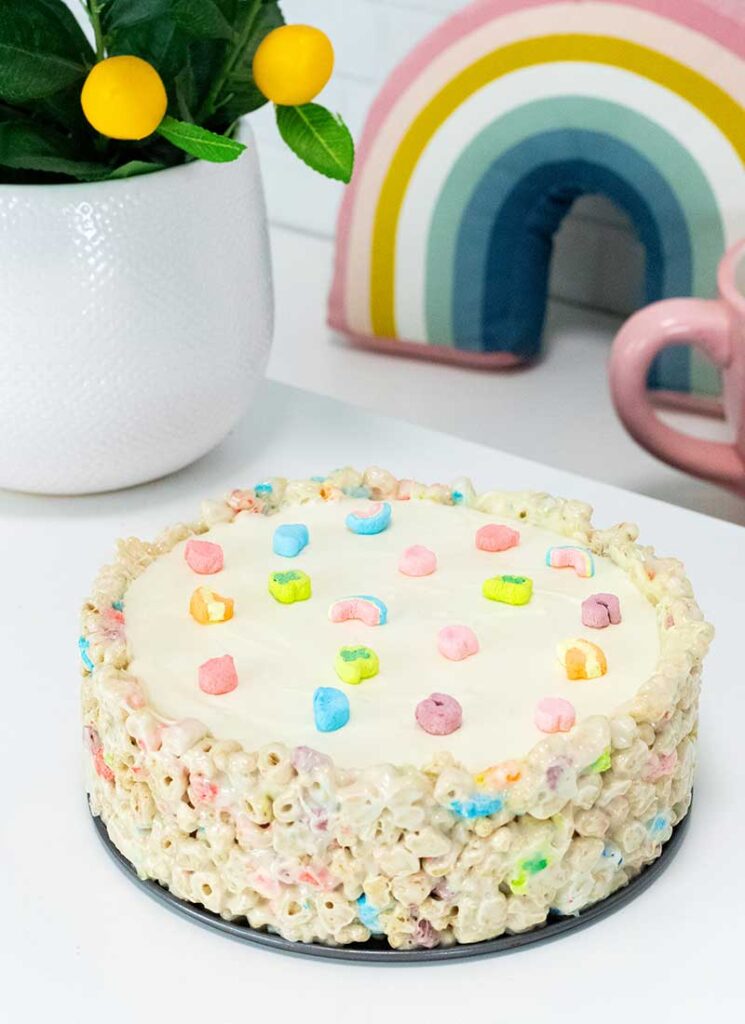
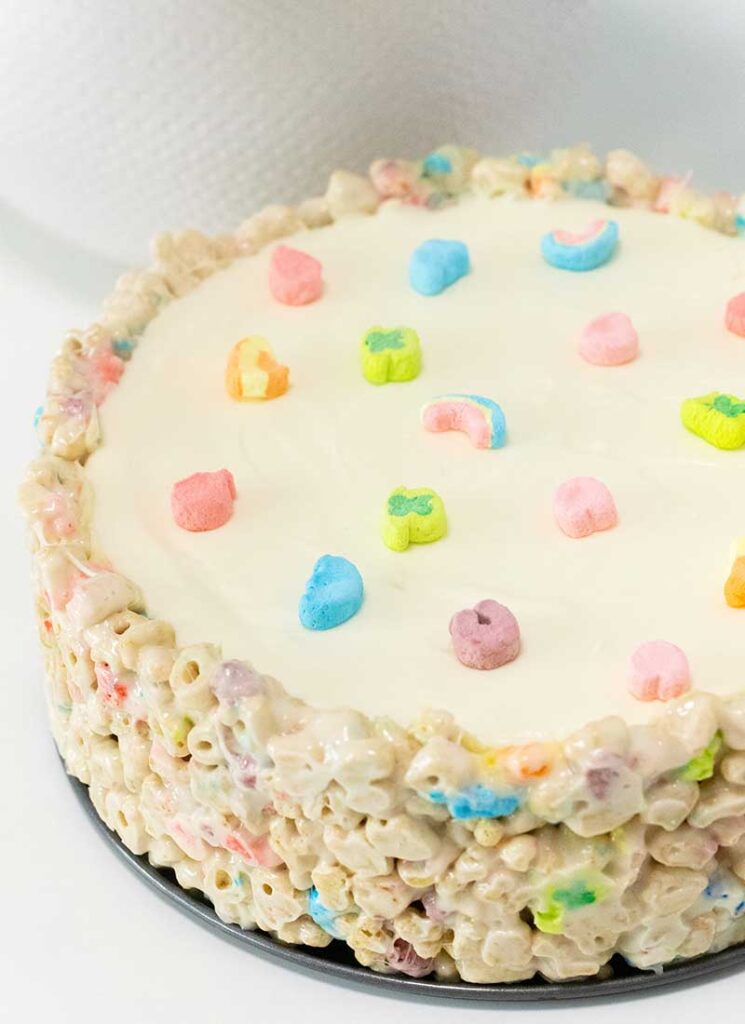

Use a sharp knife to slice the cake into slices and enjoy!
Other Cheesecake Recipes to Try
Sweet Potato Casserole Cheesecake

Lucky Charms Cereal Cheesecake
Equipment
Ingredients
Crust:
- 4 tbsp unsalted butter
- 6 cups marshmallows
- 1 tsp vanilla extract
- 6 cups lucky charms cereal
- 6 oz white chocolate melted
- cooking spray
Filling:
- 600 g cream cheese room temperature
- 100 g granulated sugar
- 600 ml whipping cream
- 2 tbsp lemon juice
- 1 tsp vanilla extract
- 3 ¼ tsp powdered gelatin
- ¼ cup water
- ¼ cup lucky charms cereal marshmallows only
Instructions
Make the crust:
- Place the butter and marshmallows in a large bowl and microwave for 30-second increments, until both the butter and marshmallows have melted. Stir at each interval.
- Add the vanilla extract and mix well.
- Add the lucky charms and mix until they are evenly incorporated into the melted marshmallow.
- Spray the inside of a 9” round springform pan with cooking spray. Press the cereal treat mixture into the base and sides of the pan. You can use your hands or a flat-bottomed cup to help do this, but be sure to spray them with cooking spray first so that they don’t stick!
- Place the pan in the fridge to stiffen for 20 minutes.
- Use a spatula to evenly spread the melted white chocolate onto the bottom and sides of the crust. This will act as a barrier between the crust and the filling, preventing the crust from getting soggy. Return this to the fridge while you make the filling.
Make the filling:
- Place the cream cheese and sugar in a large bowl and beat with an electric mixer until smooth.
- Add the whipping cream, lemon juice and vanilla extract and mix until well combined.
- Combine the gelatin and the water in a small bowl and let the gelatin bloom for about 5 minutes. Then place the bowl in the microwave and heat for 30 seconds, until the gelatin is liquid. Pour this into the cheesecake mixture and mix until fully combined.
- Pour the filling into the prepared crust and smooth the surface. Chill the cake in the fridge for about 6 hours or up to overnight.
To serve:
- Unlatch the sides of the springform pan and gently lift the sides off the cake.
- Right before serving, scatter the extra lucky charms marshmallows on top of the cheesecake. The moisture of the cheesecake filling will soften the marshmallows and potentially make the color bleed onto the cake, so make sure you do this step immediately before serving!
- Use a sharp knife to slice the cake into slices and enjoy!
Video

