
This easy, no-churn red velvet ice cream is as smooth and creamy as its name suggests. With its bright red hue and subtle chocolate flavor, this ice cream is super enjoyable all on its own or in an ice cream cone. It makes a great ice cream sundae, or you can layer it with crushed cookies to make a homemade ice cream cake that’s perfect for birthdays and other special occasions. If you love red velvet cake, this ice cream is the perfect treat for you. It’s sweet, creamy, and perfect for sharing with friends on a warm summer night.

This ice cream has six ingredients and doesn’t require an ice cream maker or any special equipment at all. Everything comes together in one bowl before it gets frozen into a creamy, dreamy treat. The simple ingredients can easily be found at the grocery store, and you probably have some of them on hand already. Clean-up is a breeze leaving you plenty of time to make some homemade ice cream cones while you wait for the ice cream to set up firm.
Red velvet cake is a classic and delicious treat, and there are so many desserts inspired by its rich flavor and eye-catching color. These red velvet whoopie pies are adorable and sandwiched together with a delicious creamy filling. And this red velvet hot chocolate is creamy, smooth, and the perfect treat for the colder months. And these red velvet mini pancakes stuffed with cream cheese frosting are the perfect sweet treat to enjoy the flavors of red velvet cake for breakfast.
Why You’ll Love Red Velvet Ice Cream
- Easy to make: This homemade ice cream recipe is straightforward and easy to make, even if you’ve never made homemade ice cream before.
- Perfectly creamy: The combination of whipping cream and eggs results in a velvety smooth, creamy ice cream that is perfect for putting in a cone or using in a sundae.
- Delicious and flavorful: This ice cream captures all the rich cocoa and vanilla flavors of red velvet cake that make it a fan favorite.
Making Homemade Ice Cream With Raw Eggs
There are many ice cream recipes for homemade ice cream, and many of them use sweetened condensed milk as the base. However, to get that real ice cream taste you’re looking for, using eggs and sugar as the base is what you’re looking for. But can you use raw eggs in ice cream?
In short, yes, you can. Most of the cartons of ice cream you buy at the grocery store contain raw eggs. If you feel safe adding raw egg to your ice cream, you can do so. However, there is the risk of foodborne illness when using raw eggs, although it is rare.
Contaminated eggs were a much bigger issue 30-40 years than they are today, but it’s important to know the risks of any food ingredients you’re cooking with. So, to make sure you don’t end up with contaminated eggs, the easiest thing to do is to buy eggs that have already been pasteurized.
Are all eggs pasteurized?
Unfortunately, no, not all eggs are pasteurized. If they are, it will say so on the carton. Egg manufacturers use a process of heating eggs to destroy pathogens without cooking the eggs to make them safe to use while still raw.
How do I pasteurize eggs at home?
The process of pasteurizing eggs at home is easy to do and only takes a few minutes.
You’ll need:
- Small pot of water
- Stovetop
- Kitchen thermometer
- Large measuring cup (or similar) of cold water
To pasteurize eggs at home, follow these simple steps:
- Give your eggs a rinse to remove any residue on the outside of the shell. Then, place them in the pot of water. Cover the eggs with about 1 inch of water.
- Set the pot on the stove over low heat with the thermometer in the water. Allow the water to reach 135-140°F degrees. You’ll want to try to keep the water within this range. If your water begins to climb to 141 degrees, add a touch of cold water to keep it in a lower range.
- Allow the eggs to sit in the heat for 3 minutes. If you’re using extra large eggs, allow them to sit for 4 minutes.
- Remove from the heat and drain away the water. Let cold water run over the eggs to cool them back down.
And just like that, your eggs will be pasteurized! Use them right away.

Ingredients for Red Velvet Ice Cream
- Whipping Cream
- Red Food Coloring
- Eggs
- Sugar
- Vanilla Extract
- Milk Chocolate
Helpful Tools
How to Make Red Velvet Ice Cream

Step 1: Whip the cream.
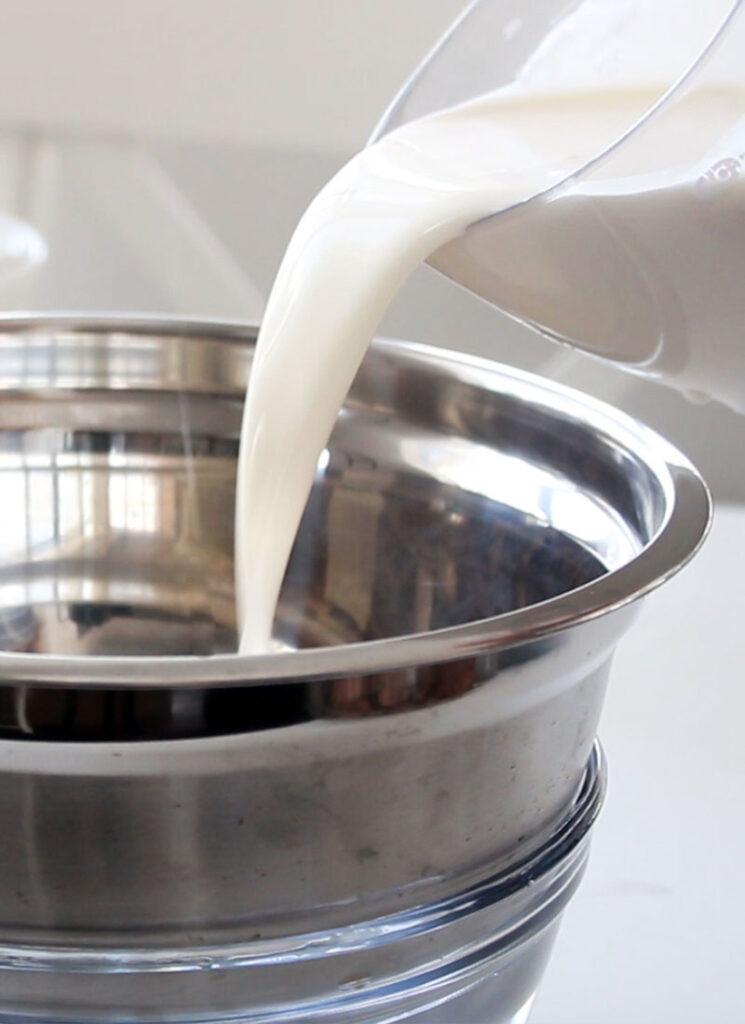
Fill a large bowl with ice water, and place a smaller bowl on top. Pour the whipping cream into the smaller bowl and add the food coloring. Whip with an electric mixer until soft peaks form then set the cream aside in the fridge.


Step 2: Make the egg mixture.
In a separate bowl, whisk the eggs and add the sugar and vanilla. Beat well with an electric mixer until light and ribbony.


Step 3: Combine the ice cream base.
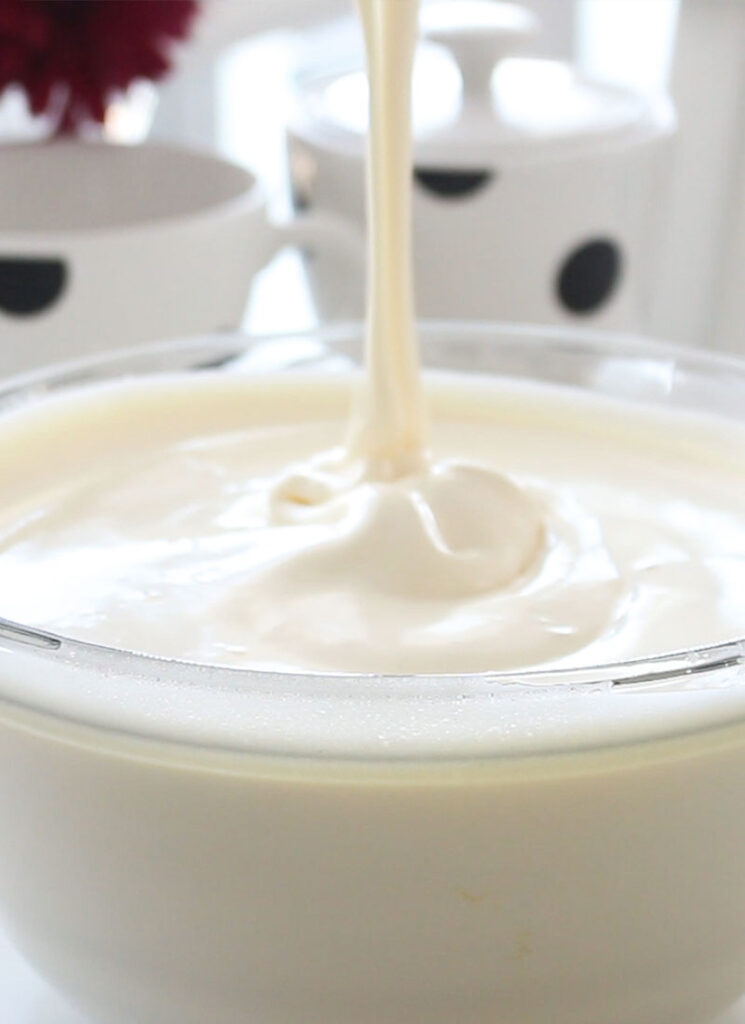
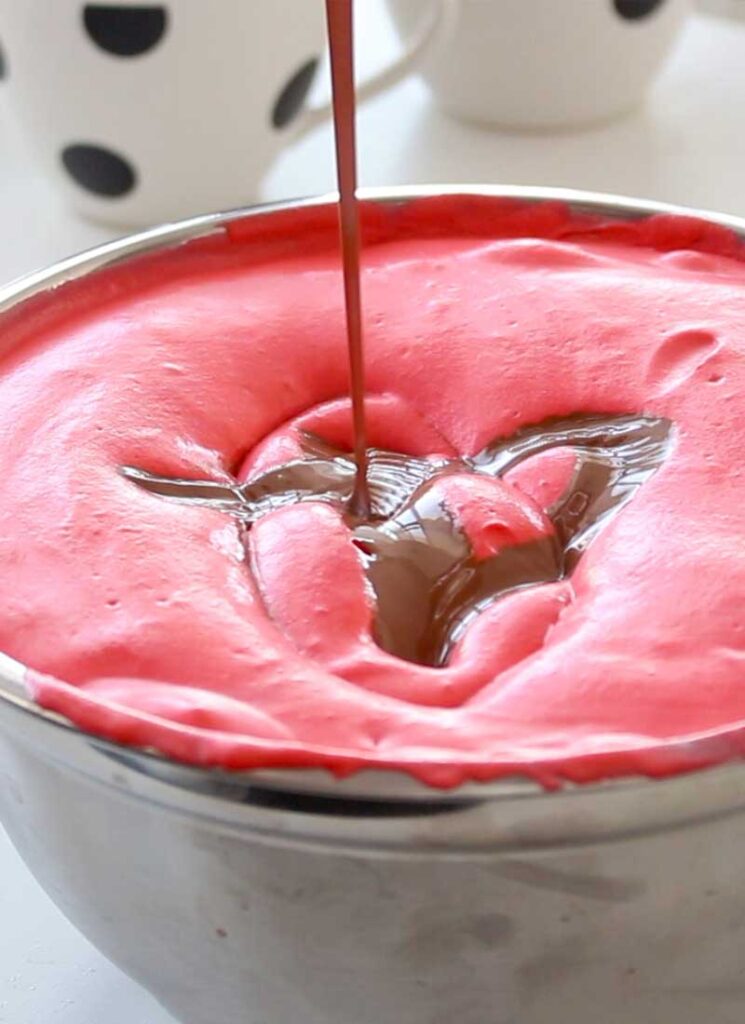
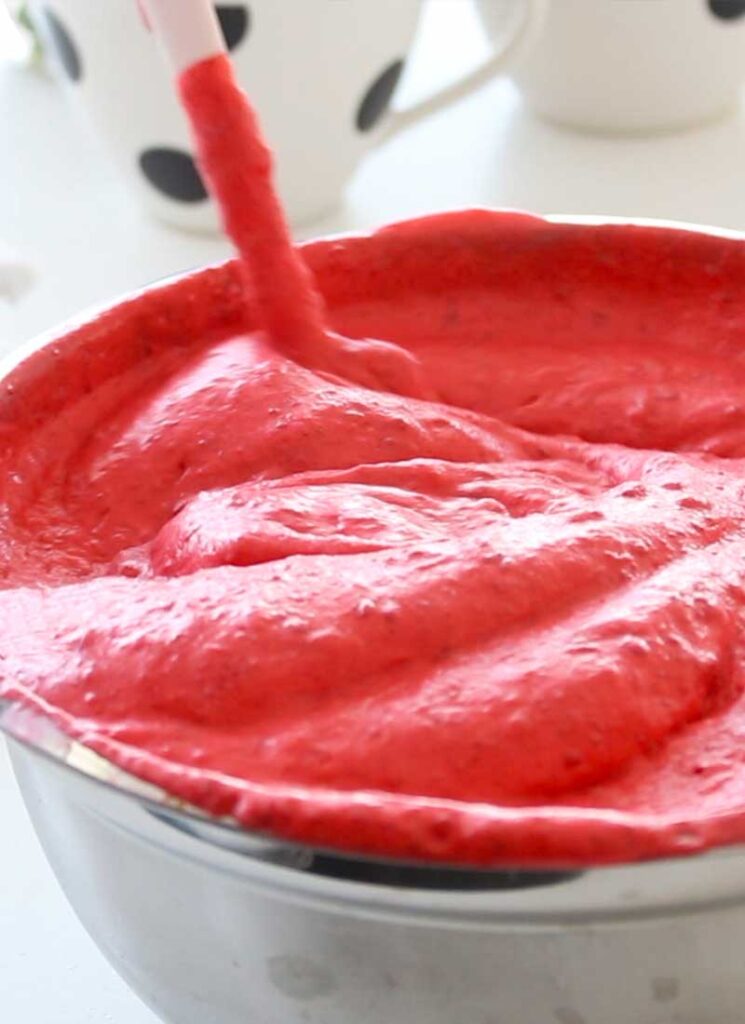
Add half of the egg mixture to the cream, and whisk together. Once they are fully combined, add the remaining egg mixture and gently fold the mixture together and combine. Add the melted milk chocolate and gently fold to combine.

Step 4: Combine the ice cream.
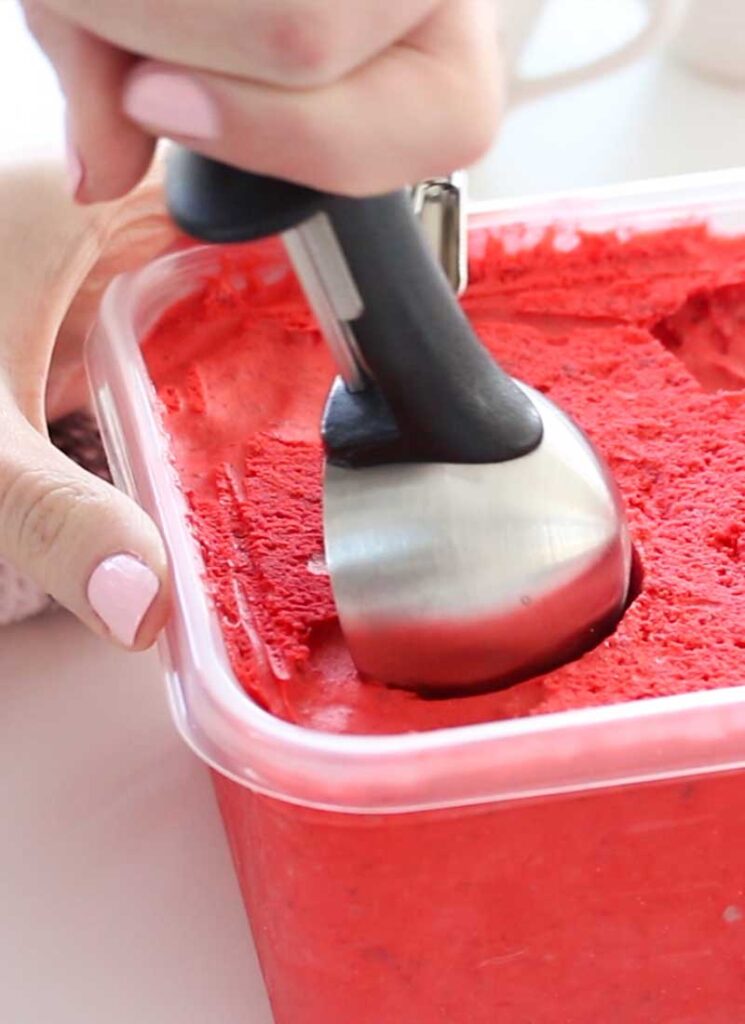
Pour the ice cream base into a Tupperware container, and seal it with the lid. Place this in the freezer for at least 8 hours, but overnight is even better. Scoop some into your favorite bowl and enjoy!
Substitutions for Red Velvet Ice Cream
Red Food Coloring- You can use any food coloring you like to customize the color of your ice cream to your preference or fit any theme.
Recipe Variations
- Swirl in some softened cream cheese or homemade cream cheese icing before freezing for a tangy twist on the classic red velvet flavor.
- Add chopped pecans or walnuts for a delightful crunch and nutty undertones.
- Mix in some chopped white chocolate or white chocolate chips for a sweet, creamy mix-in.
Serving Suggestions
Serve the ice cream topped with hot fudge, sprinkles, whipped cream, and a cherry for a red velvet sundae.
Make an ice cream sandwich with some red velvet cookies for the ultimate red velvet dessert.
FAQ
Can I use dark chocolate instead of milk chocolate?
Yes, dark chocolate works well and gives a more intense flavor.
Is red food coloring necessary?
While the red food coloring adds the iconic red velvet color, you can use a different color or leave it out if you prefer a more natural look.
Can I use an ice cream maker for this recipe?
This recipe doesn’t require an ice cream maker. It sets beautifully in the freezer. If you prefer, you can follow the directions on an ice cream maker to freeze the ice cream.
Can I make it without eggs?
Eggs play a crucial role in creating the ice cream’s creamy texture. If you prefer not to use uncooked eggs in your ice cream, this recipe uses sweetened condensed milk instead.
Other Homemade Ice Cream Recipes to Try

The addition of charcoal creates a SUPER dark ice cream – perfect for Halloween!
Classic, creamy and delicious! This ice cream has the traditional touch of using eggs in the custard base!
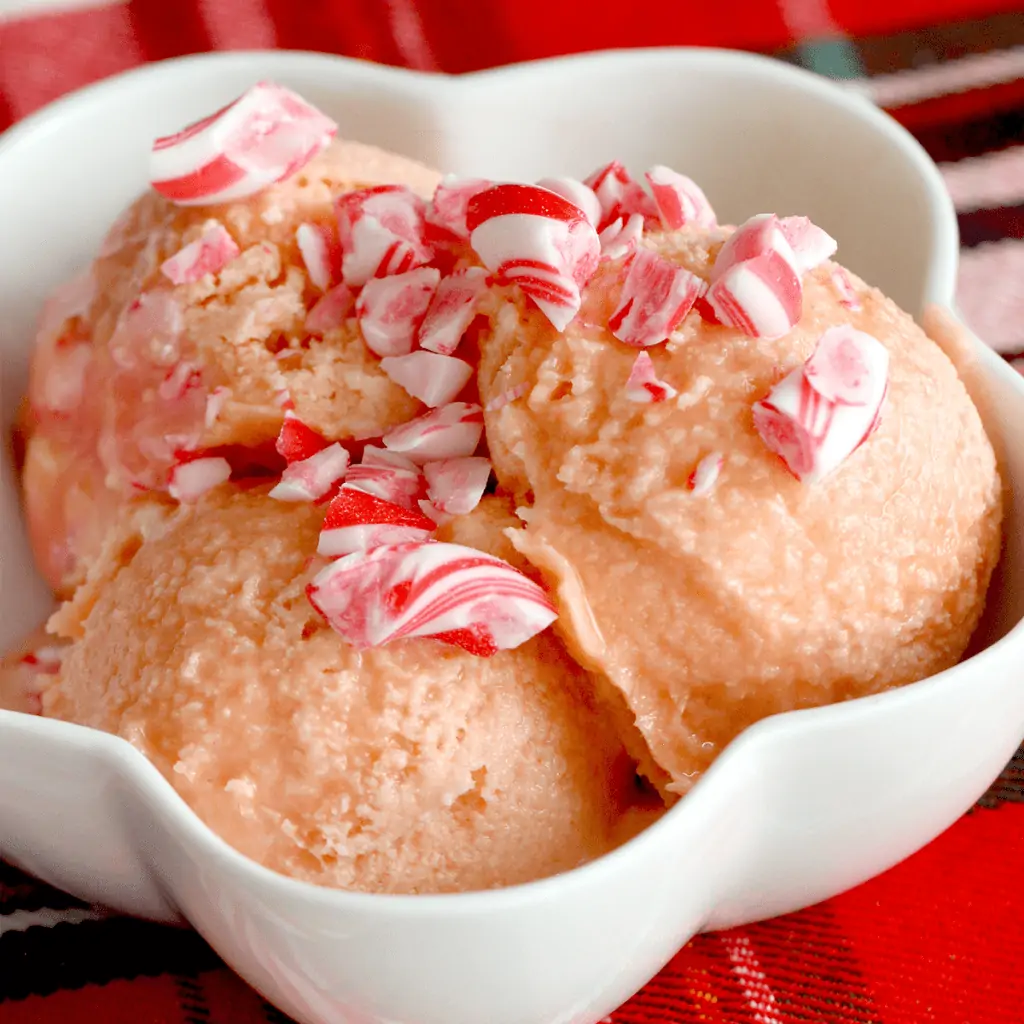
Steep leftover candy canes in fresh cream for a sweet and minty holiday treat!

Each scoop creates a whole new world!

Red Velvet Ice Cream
This easy, no-churn red velvet ice cream is as smooth and creamy as its name suggests. With its bright red hue and subtle chocolate flavor, it is super enjoyable in a bowl or in an ice cream cone!
Ingredients
- 400 ml whipping cream
- approx. 1 tsp red food colouring
- 4 eggs
- 140 g sugar
- 1 tsp vanilla extact
- 250 g milk chocolate melted
Instructions
- Fill a large bowl with ice water, and place a smaller bowl on top. Pour the whipping cream into the smaller bowl and add the food colouring. Whip with an electric mixer until soft peaks form. Then place the cream in the fridge.
- In a separate bowl, whisk the eggs and add the sugar and vanilla. Beat well with an electric mixer until the mixture forms a ribbon when the whisk is lifted and the ribbon remains on the surface of the mixture for a few seconds.
- Add half of the egg mixture to the cream, and whisk together. Once they are fully combined, add the remaining egg mixture and gently fold the mixture together and combine. Make sure to be gentle and keep the mixture as airy as possible. Add the melted milk chocolate and gently fold to combine.
- Pour the ice cream into a Tupperware container, and seal with the lid. Place this in the freezer for 7-8 hours to chill and set. Scoop some into your favourite bowl and enjoy!
Video
Notes
Tips for Making Perfect Red Velvet Ice Cream
- When combining the egg mixture and whipping cream, be gentle and keep the mixture as airy as possible to maintain that creamy texture.
- Melt the chocolate in the microwave or using a double boiler to avoid burning or overheating it.
- Allow the ice cream to chill in the freezer for a minimum of 7-8 hours to ensure it sets perfectly.
Storage Directions
Red velvet ice cream can be stored in an airtight container in the freezer for up to a month.Nutrition
Serving: 1batchCalories: 3466kcalCarbohydrates: 303.5gProtein: 53.9gFat: 244gSaturated Fat: 143.4gCholesterol: 1364mgSodium: 638mgPotassium: 570mgFiber: 6.8gSugar: 282.5gCalcium: 881mgIron: 6mg
Tried this recipe?Let us know how it was!

Hi everyone! My name is Cayla Gallagher and I’m the creator of pankobunny!

I’m In The Mood For:
@pankobunny
This error message is only visible to WordPress admins
Error: Invalid Feed ID.