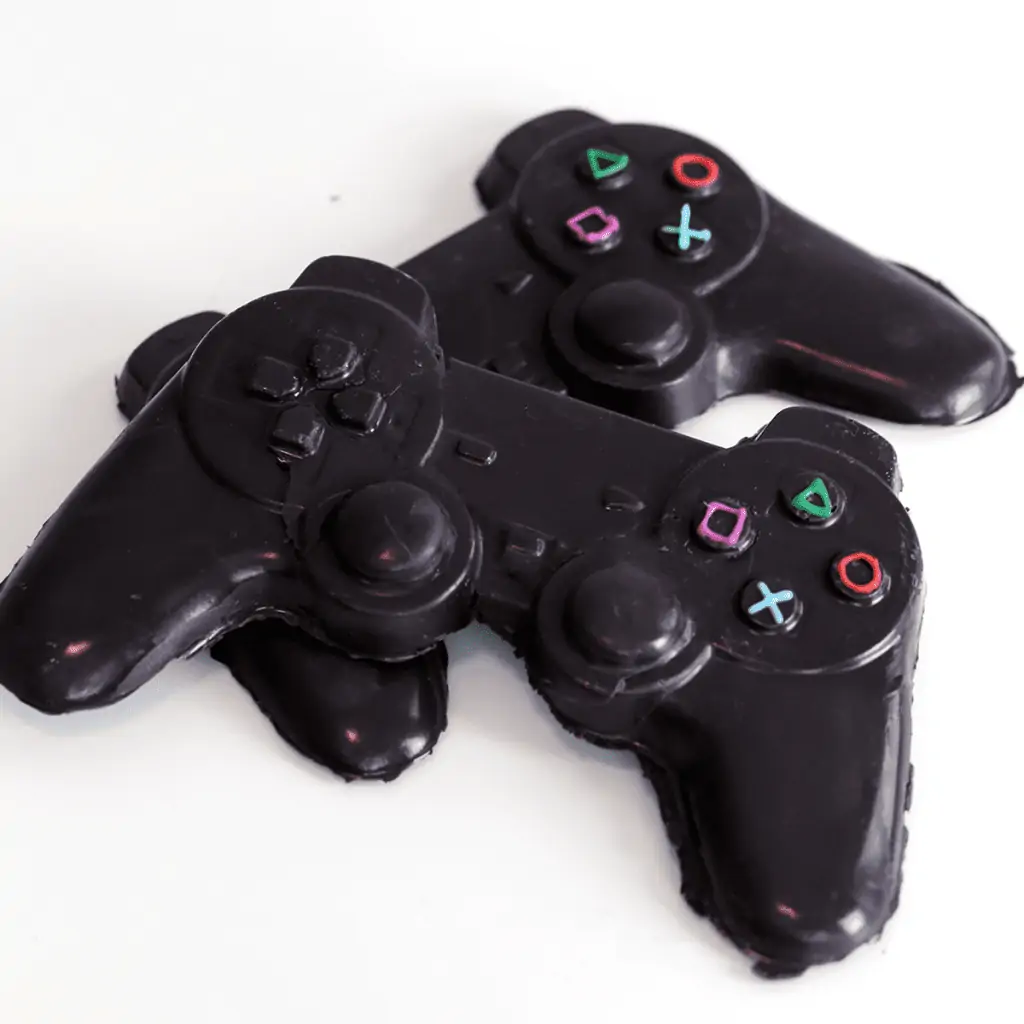

Chocolate PlayStation Controller
Ingredients
Cake Batter:
- 1 cup hot water
- 3 tbsp instant coffee
- ½ cup cocoa powder
- 1 tbsp vanilla extract
- 1 ½ cups all-purpose flour
- 1 cup sugar
- ¾ tsp baking soda
- ½ tsp salt
- ½ cup vegetable oil
- ¾ cup chocolate chips
- 2 tsp white vinegar
- 100 g white chocolate melted
- 65 g whipping cream hot
- Black, green, purple, red and blue candy melts, melted
Instructions
- In a large mixing bowl, mix together the flour, sugar, baking soda and salt. In a separate bowl, dissolve the instant coffee in the hot water. Then add the cocoa powder and vanilla, whisk together, then pour into the dry mixture. Add the vegetable oil, chocolate chips and vinegar, and mix until everything is well combined.
- Divide between a large muffin tin and bake at 375F for 15 minutes. Cool completely.
- Weigh out 375g of cupcakes (about 6 cupcakes) and crumble into a fine crumb. In a separate bowl, combine the white chocolate and whipping cream, then pour onto the cake crumbs and mix until well combined. The mixture should hold its shape when you mold it.
- Spread some melted black candy melts onto the walls of a PS4 controller chocolate mold. Allow the candy melts to harden at room temperature. Fill the mold with the cake mixture, making sure to create a flat surface. Pour extra black candy melts on top and seal the cake inside the candy melts. Smooth the surface, then place the mold in the refrigerator until the candy melts have hardened.
- Gently unmold the controller from the mold. Use toothpicks to draw the details on the controller with the green, purple, red and blue candy melts. Allow the details to harden and enjoy!
- Note: because of how thin the controllers are, they will become fragile and soften slightly when left at room temperature. We recommend storing them in the fridge until they’re ready to be enjoyed.
Video
Notes
Want to see more video tutorials? Check out all of my recipes here!
http://www.youtube.com/pankobunny
Tried this recipe?Let us know how it was!

Hi everyone! My name is Cayla Gallagher and I’m the creator of pankobunny!
I’m In The Mood For:
@pankobunny
This error message is only visible to WordPress admins
Error: Invalid Feed ID.


