
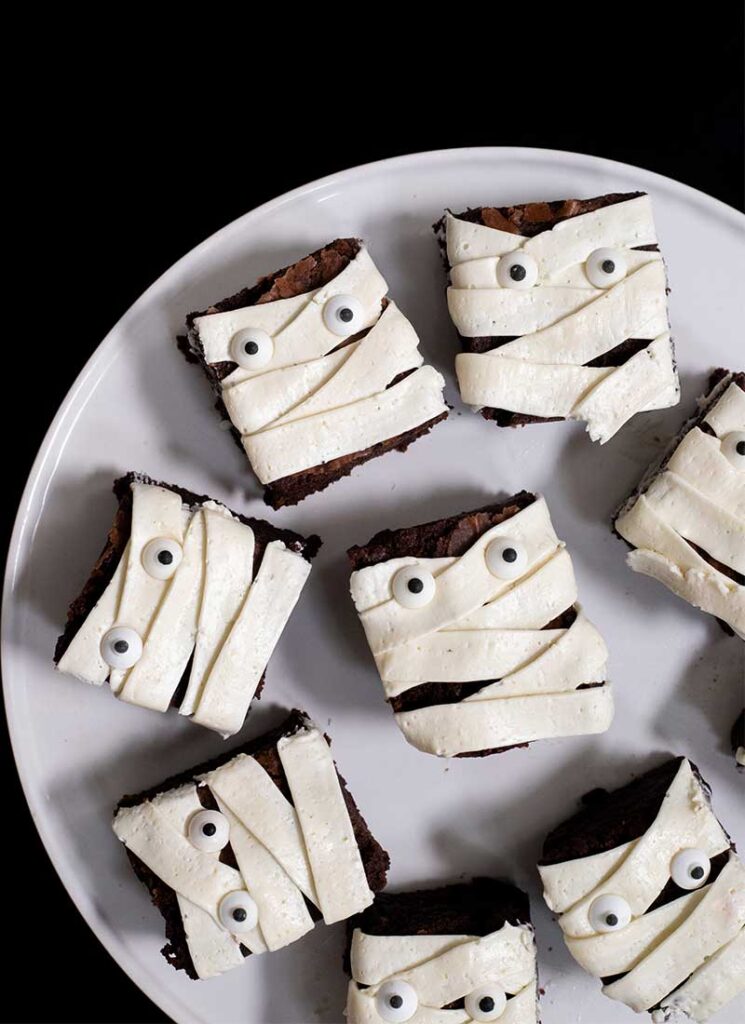
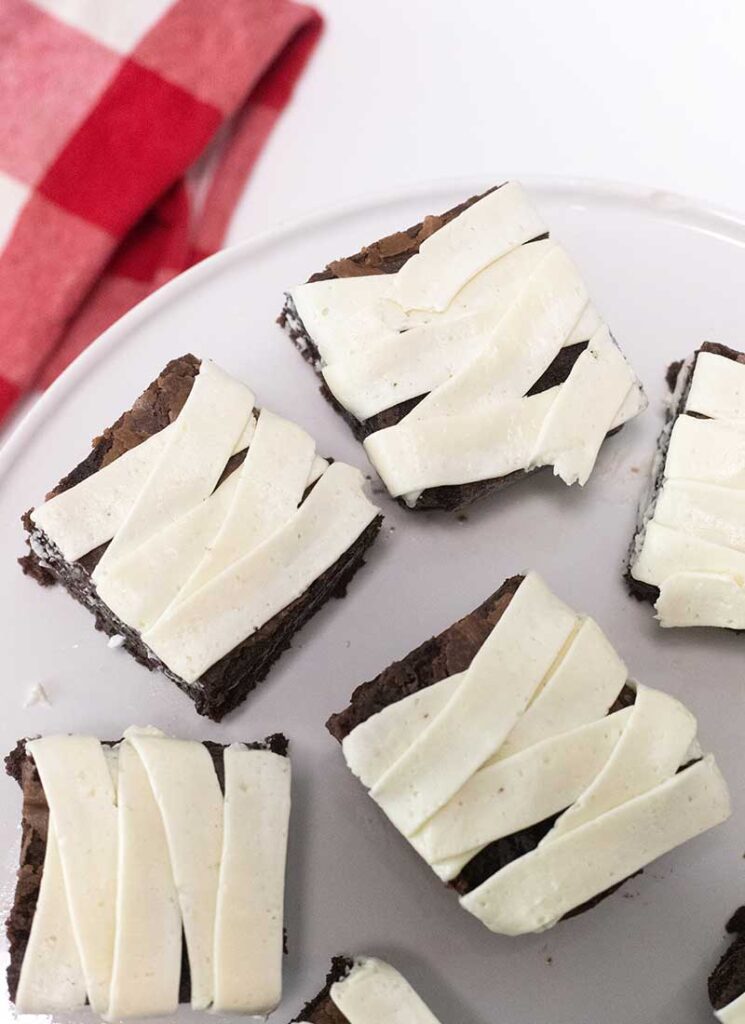
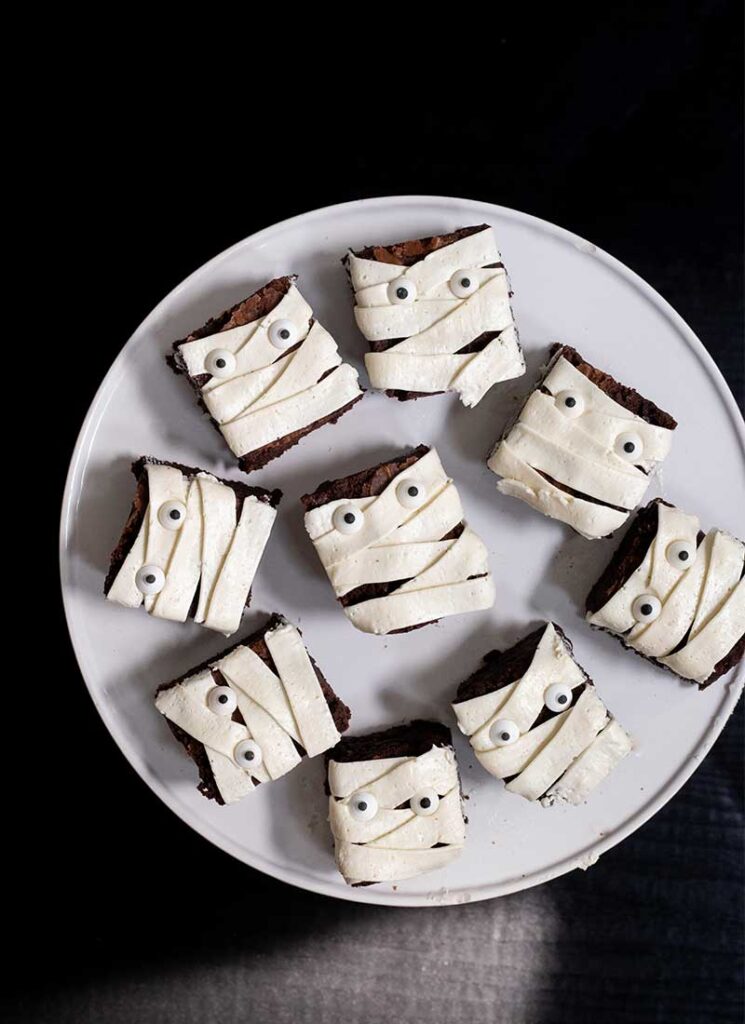
These Halloween Mummy Brownies are the perfect spooky treat! With a few simple decorating steps, you can transform moist, fudgy brownies into cute and creepy mummies for your next Halloween party.
Indulge in the ultimate Halloween delight with these festive and tasty brownie mummies. A rich and fudgy brownie base is skillfully decorated with homemade vanilla frosting to resemble adorable mummies. The blend of soft chocolatey goodness with a creamy frosted garnish and candy eyes makes these easy Halloween brownies both delicious and visually captivating. They are sure to be a hit at any holiday gathering!
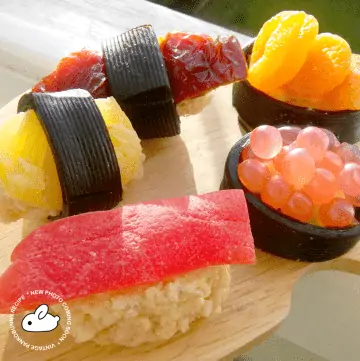
Creating these brownies is as fun as it is easy. This recipe takes you step-by-step through the decorating process to transform melt-in-your-mouth brownies into a tasty themed dessert. These Halloween brownies are ideal for parties and are great for kids and adults alike! For more Halloween-themed treat recipes, try my S’mores Marshmallow Ghost Tart, Eyeball Mochi Skewers, or Worm Cheesecake.
What are Halloween Mummy Brownies?
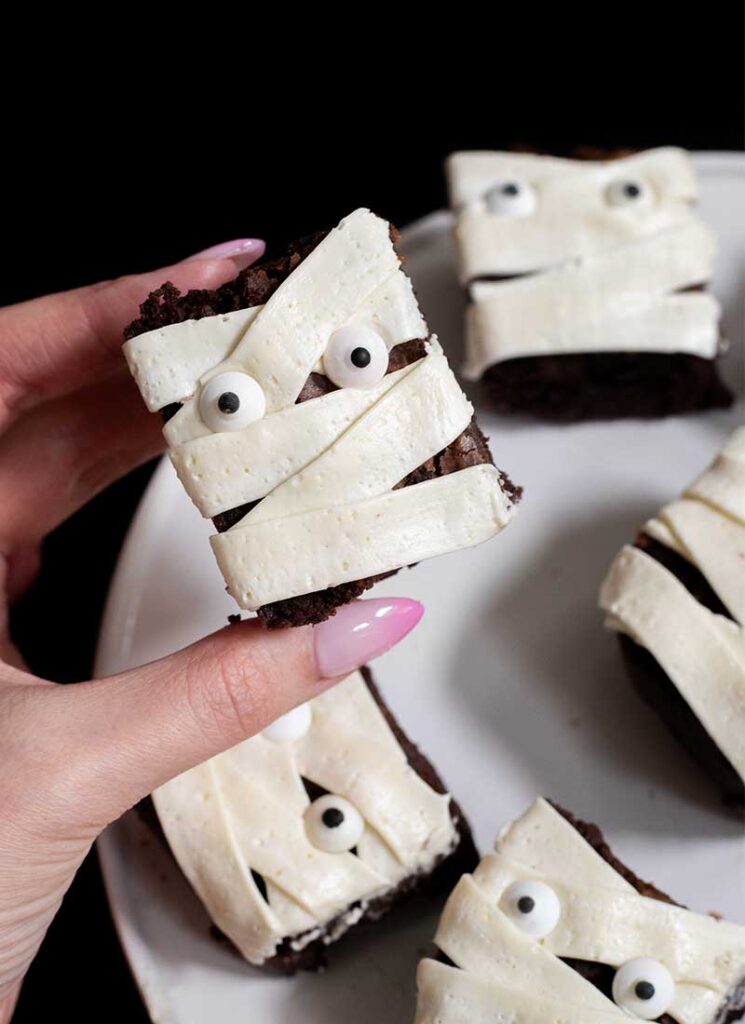
Halloween Mummy Brownies are fudgy chocolate brownies decorated to look like mummies. They are baked and then topped with a simple frosting piped to resemble mummy bandages, with candy eyes for a playful touch. This Halloween brownie recipe makes holiday celebrations delicious and festive!
Why You’ll Love this Halloween Recipe
- Festive & Fun: The spooky mummy design is perfect for Halloween, adding a playful and eye-catching element to your dessert table.
- Easy to Make: This recipe is straightforward and beginner-friendly. It uses a simple brownie base and a few decorating steps. You don’t need to be a baking expert to create these impressive treats.
- Kid-Friendly. Decorating these brownies is a great kids’ activity, and they’ll also love eating these cute and creepy treats.
- Great for Parties: Look no further for Halloween brownies ideas that will be a hit at parties! They are easy to serve, delicious, and make a great conversation piece.
- Versatile: Customize the decoration to suit your taste and creativity!
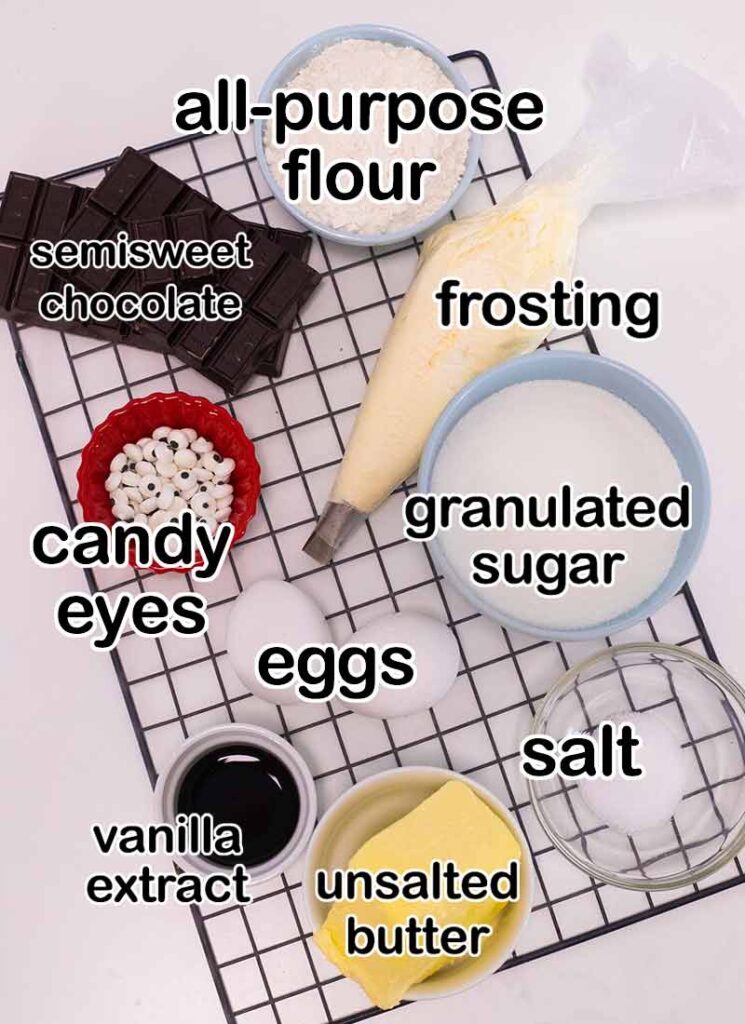
Ingredients
- Semisweet Chocolate – For the best brownie flavor, opt for high-quality chocolate. Look for bars labeled “baking chocolate” or “semi-sweet chocolate chips” in the baking aisle. For a richer flavor, substitute dark chocolate. For a sweeter flavor, swap in milk chocolate.
- Unsalted Butter – Use unsalted butter to control the seasoning of this recipe. Melted butter will be used for the brownie batter, and softened butter will be used for the frosting.
- Granulated Sugar – Standard granulated creates the classic brownie sweetness and texture. If desired, use brown sugar for a moister and slightly caramel-flavored brownie.
- Large Eggs – Bring eggs to room temperature before adding them so they mix more evenly into the batter. Remove them from the fridge about 30 minutes before you begin baking.
- Vanilla Extract: Vanilla extract provides a rich, robust flavor that complements the chocolate in the brownie batter and adds depth and sweetness to the frosting recipe. For the best flavor, use pure vanilla extract.
- All-Purpose Flour: This provides the perfect baked good texture. Sift the flour to remove any lumps and ensure even mixing. If needed, substitute for gluten-free all-purpose flour to make this recipe gluten-free.
- Cacao Powder: Use unsweetened natural cocoa powder for a rich chocolate flavor. Dutch-processed or dark chocolate cocoa powder can also be used for a darker color and smoother taste.
- Powdered Sugar: This finely ground confectioners’ sugar is perfect for making smooth, creamy frosting. Sift it to remove lumps before mixing.
- Candy Eyes: Add a spooky final touch to the mummy brownies. Find them at most baking supply stores or online. Or substitute for mini chocolate chips or edible pearls.
Helpful Tools
- 8×8-Inch Square Baking Dish
- Microwave-Safe Bowl
- Electric Hand Mixer
- Silicone or Rubber Spatula
- Parchment Paper
- Wire Cooling Rack
- Piping Bag with #45 Piping Tip
- Measuring Cups and Spoons
- Sharp Knife
How to Make Mummy Brownies
Step 1:
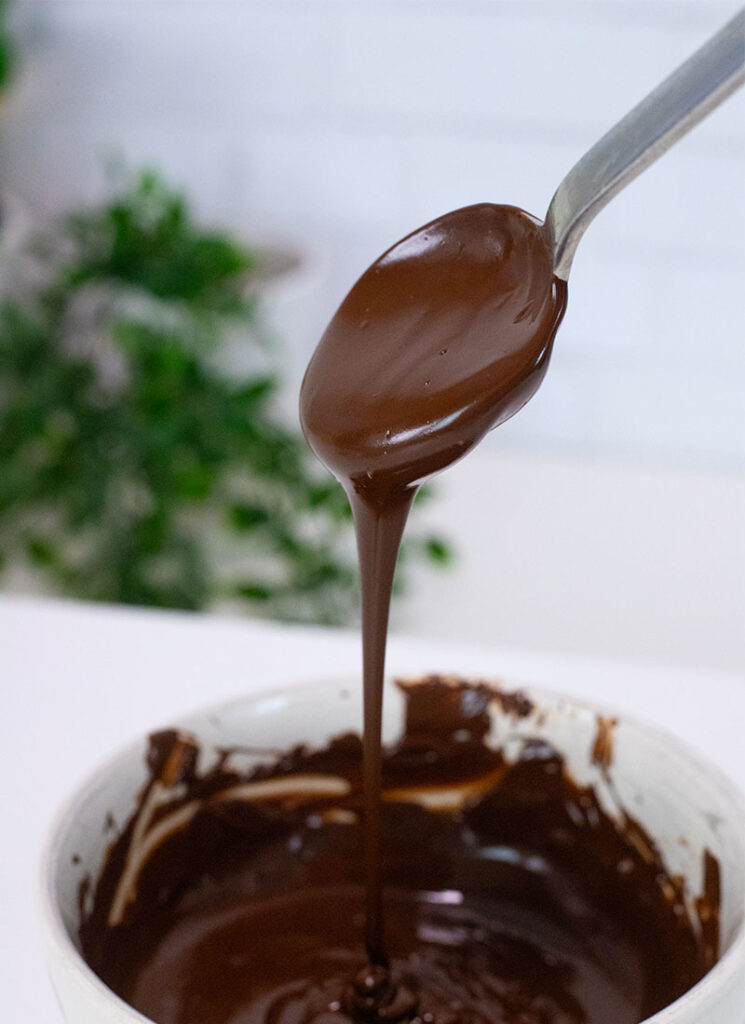
Preheat the oven to 350ºF and line an 8×8-inch square baking pan with parchment paper. Chop the chocolate into small pieces and place in a microwave-safe bowl. Microwave for 30-second intervals, stirring at each interval, until melted. Set aside.
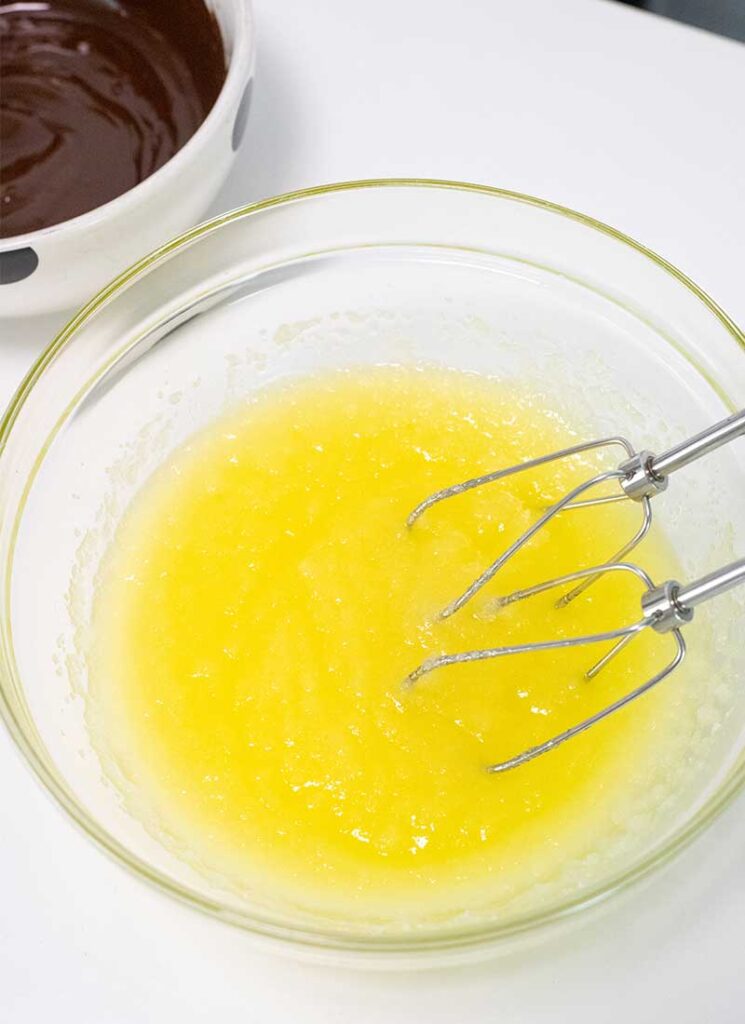
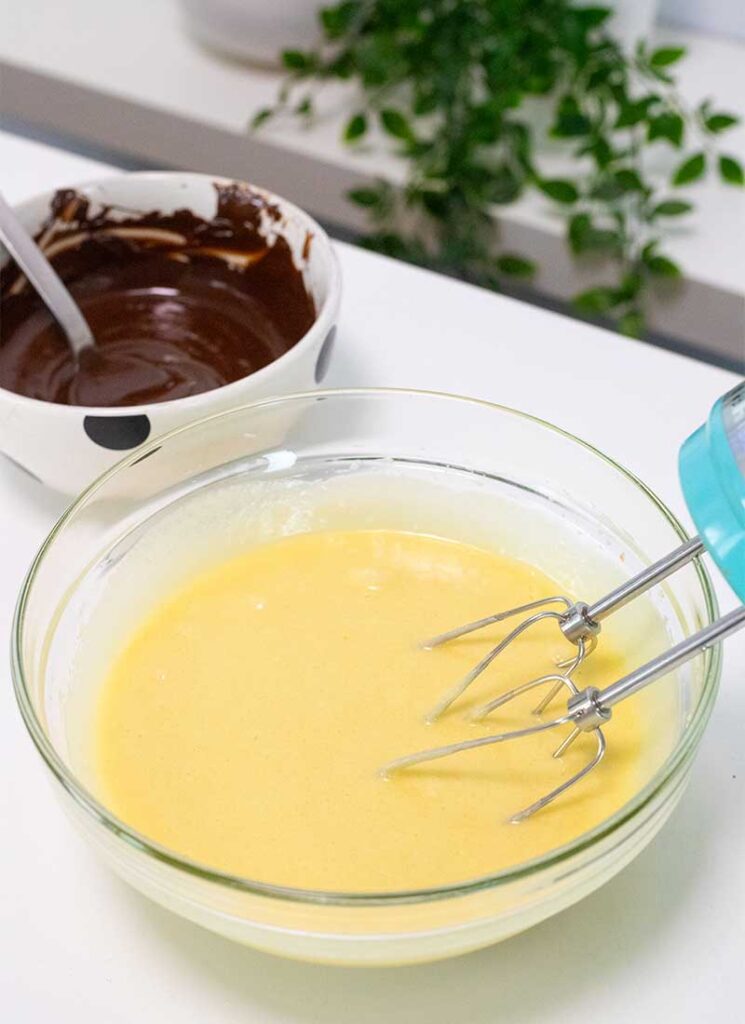
Step 2:
In a large bowl, beat the butter and sugar with an electric mixer until light and fluffy. Add the eggs and vanilla and mix until well combined. Add the melted chocolate and mix well.

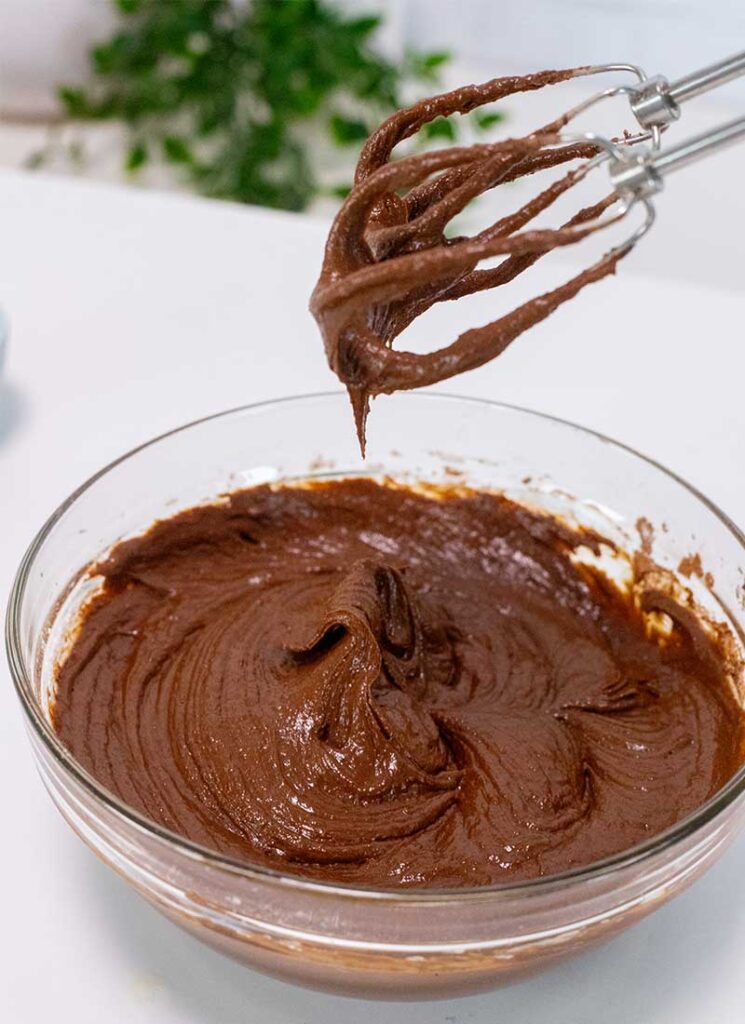
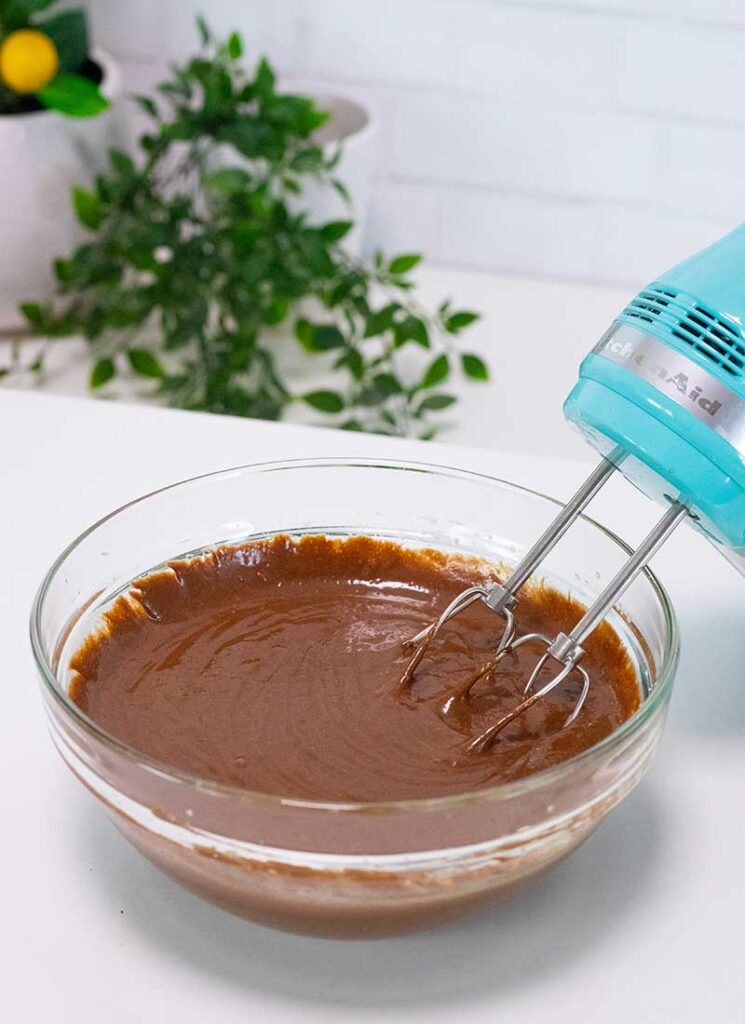
Step 3:
Add the flour, cocoa powder, and salt, and use a spatula to fold until the batter is well combined.
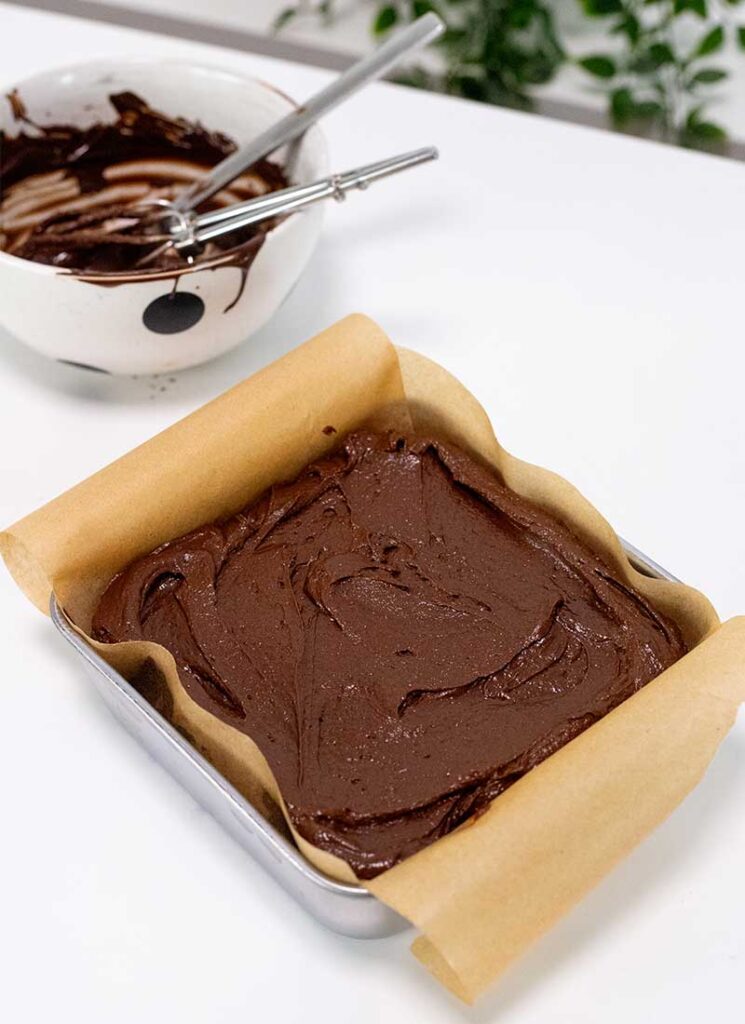
Step 4:
Pour the batter into the prepared 8×8-inch square baking dish. Bake for about 25 minutes, or until an inserted toothpick comes out with a few moist crumbs. Then place the dish on a wire rack and allow the brownies to cool completely in the dish.
Step 5:
While the brownies cool, prepare the frosting. Place the softened butter in a large bowl and beat with an electric mixer until light and fluffy. Add the vanilla extract and mix until combined.
Step 6:
Add the powdered sugar one cup at a time, mixing until combined, then beat for about 2-3 minutes, or until light and fluffy.
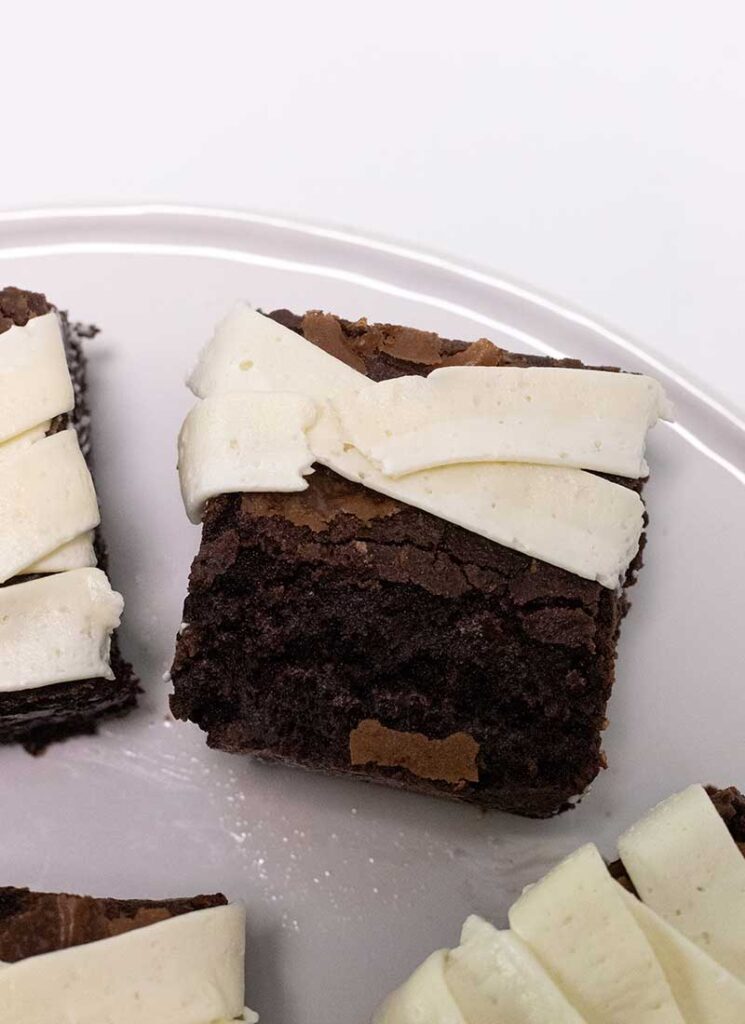
Step 7:
Place the frosting into a piping bag fitted with a #45 flat piping tip. This will make the frosting look like flat bandages!
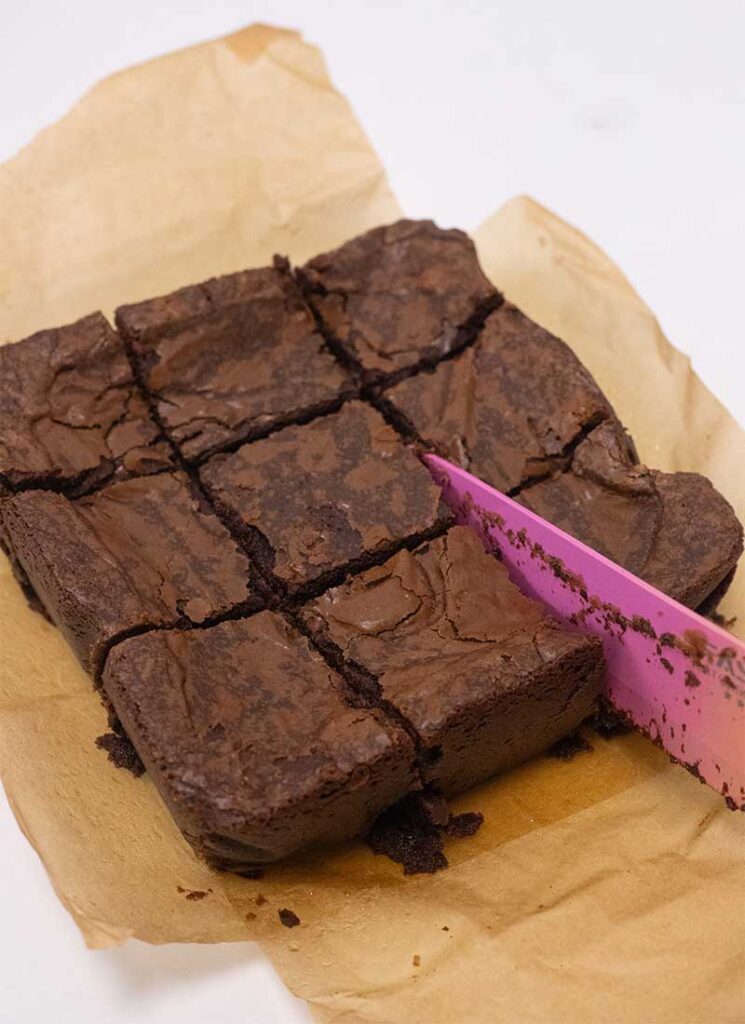
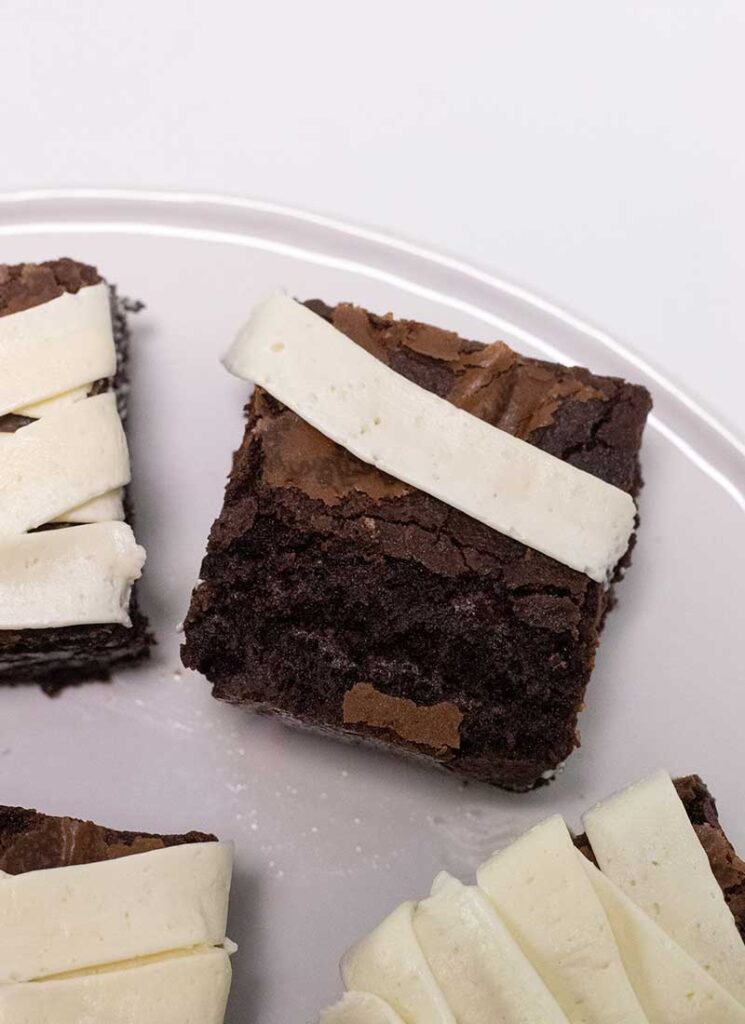
Step 8:
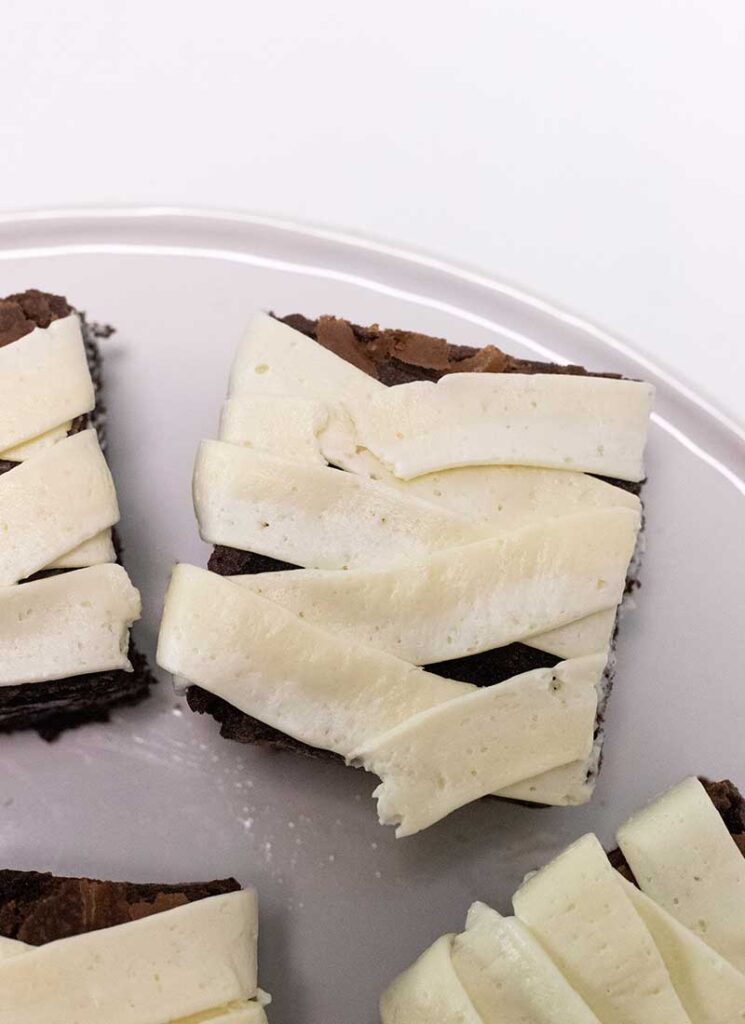
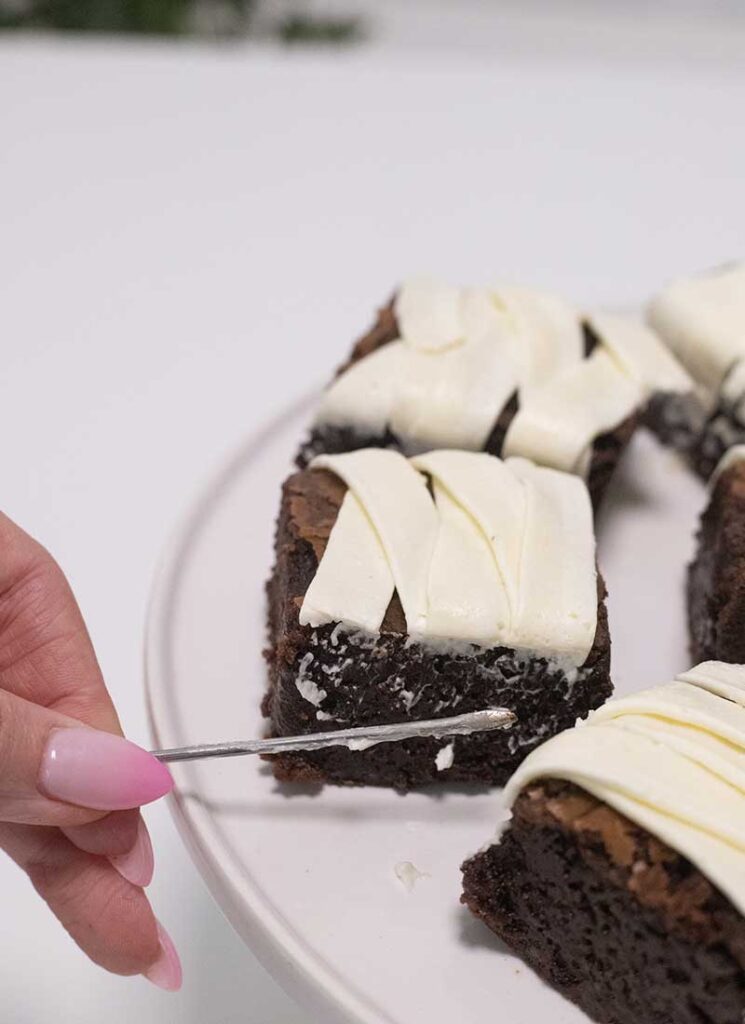
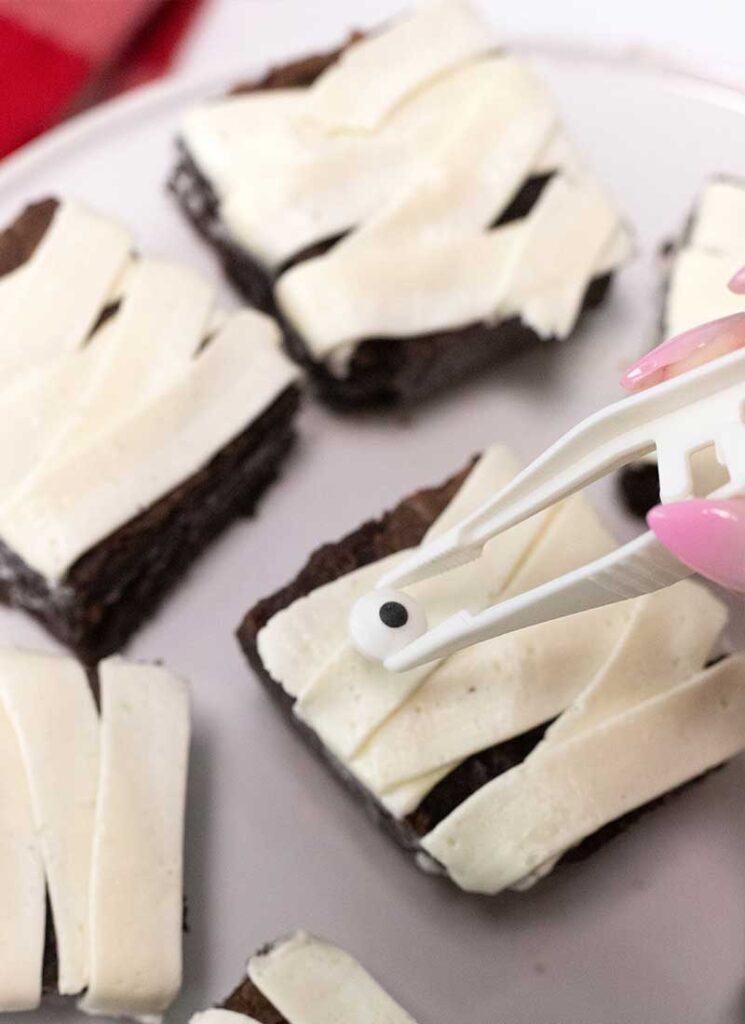
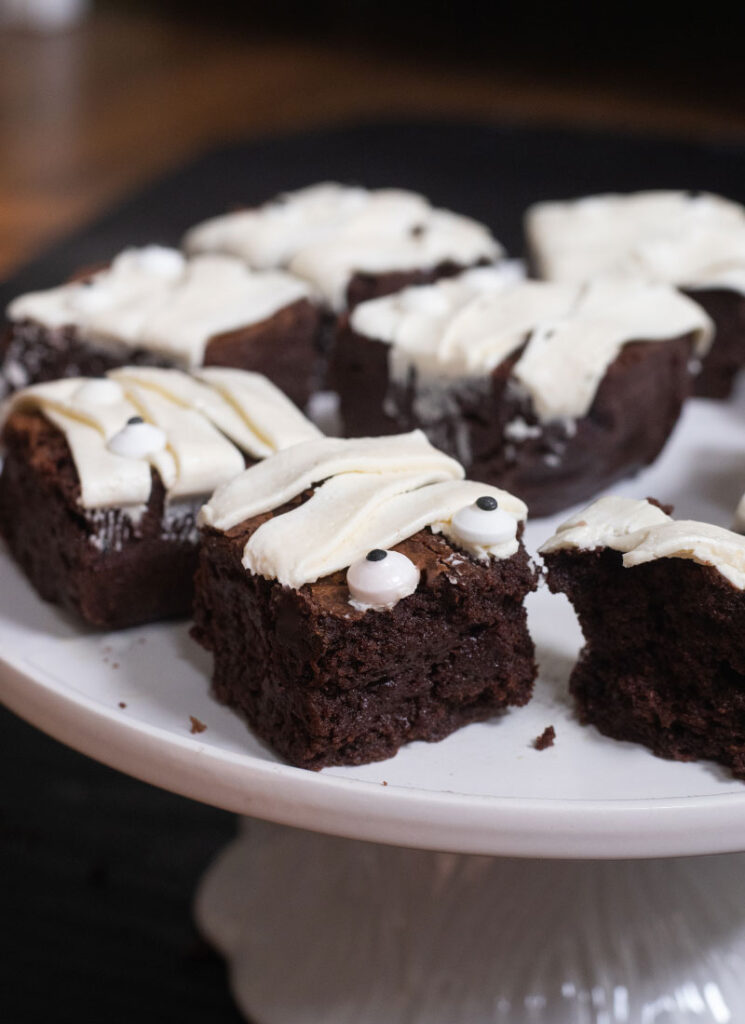
Use a sharp knife to cut the brownie into 9 even squares. Pipe the frosting across the surface of the brownies in a zigzag pattern. You can use a skewer or knife to clean up and straighten the edges of the bandages, if desired. Stick two candy eyes on top of each brownie and enjoy!
Substitutions for Mummy Brownies
Brownie Batter – While I recommend using the homemade brownie recipe for the best taste and texture, you can also use a pre-made, store-bought brownie mix. Follow the package instructions and cool the brownies to room temperature before frosting.
Recipe Variations
- Mint Mummies: Add a few drops of mint extract to the brownie batter for a refreshing mint chocolate flavor.
- Nutty: Mix in chopped walnuts or pecans for added taste and texture.
- Double Chocolate: Make extra fudgy, chocolatey brownies by including up to 1 cup of chocolate chips in the batter before baking.
- Colored Frosting: Add a few drops of desired food coloring to the icing to create festive mummy wrap colors.
- Edible Glitter: Sprinkle edible glitter on the frosting bandages to give the brownies an extra touch of festivity.
Tips for Making Perfect Halloween Mummy Brownies
- Brownie doneness. For the ideal fudgy consistency, bake the brownies until a toothpick inserted into the center comes out with a few moist crumbs. The residual heat will continue to cook the brownies slightly even after they’re out of the oven, so avoid overbaking to preserve that gooey, rich texture.
- Cooling the brownies. Allow the brownies to cool completely in the baking dish before applying the frosting. If the brownies are still warm, the frosting may melt and lose its shape, compromising the mummy look. A cooling rack can help speed up this process.
- Practice piping. Before working on the brownies, pipe the frosting on a piece of parchment paper to ensure clean and precise decorating. This practice run helps you get a feel for the consistency and control needed to create the zigzag bandage effect. If the frosting seems too stiff, add a small amount of milk to loosen it up.
- Butter temperature. For a smooth and creamy frosting, ensure that your butter is at room temperature before mixing. Cold butter can make the frosting lumpy and difficult to spread.
- Decorating variations. If desired, experiment with different piping tips to create varying frosting bandage effects for a more dynamic presentation.

Serving Suggestions
These festive brownies make the perfect spooky centerpiece for your dessert table at Halloween parties, adding a fun touch to any gathering. They also serve as delightful snacks for classroom parties, or a charming gift idea to spread the Halloween cheer with a homemade touch.
Storage Directions
At room temperature – Store leftover brownies in an airtight container for up to 3 days.
In the refrigerator – Brownies will keep for up to 1 week in an airtight container.
In the freezer: Freeze undecorated brownies for up to 2 months in an airtight, freezer-safe container. Thaw and decorate before serving.
More Halloween Dessert Recipes
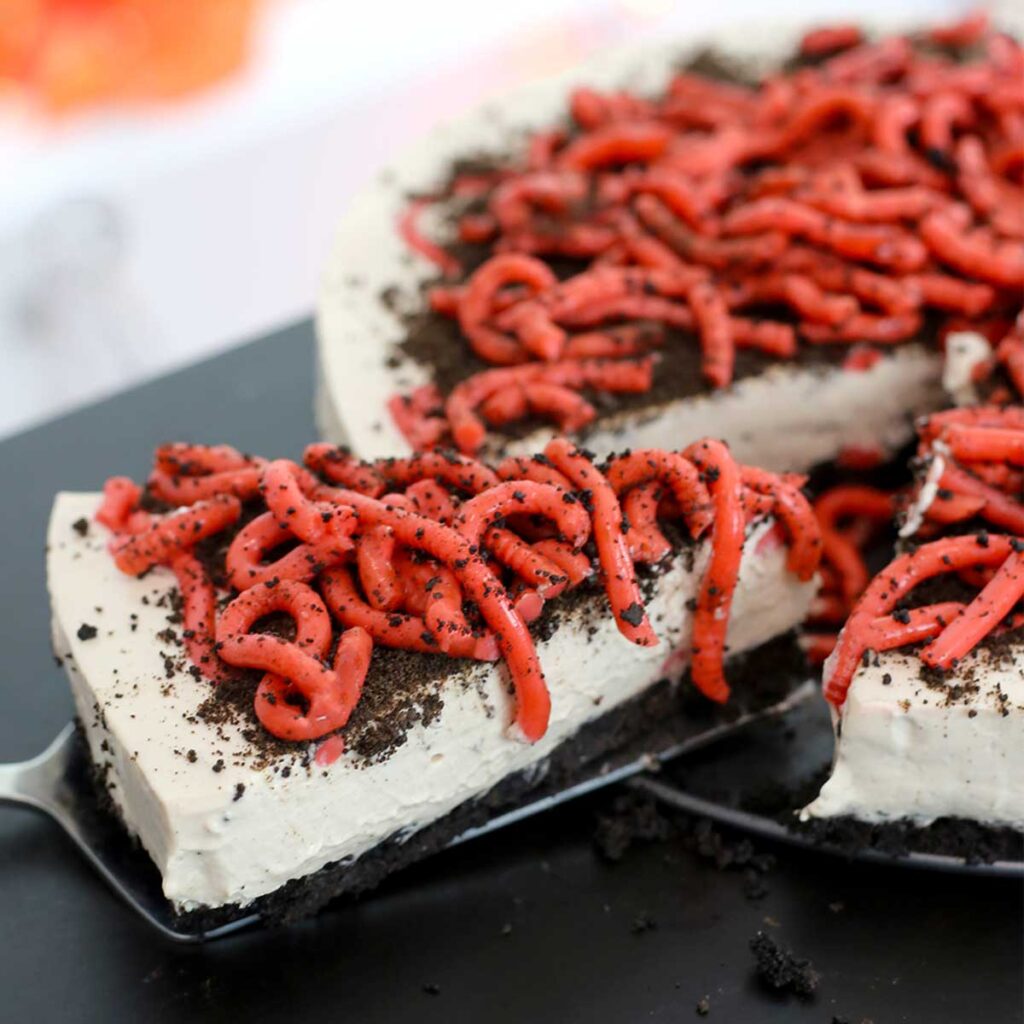
This spooky no-bake cheesecake is topped with wiggly jello worms! Are you brave enough to take a bite?
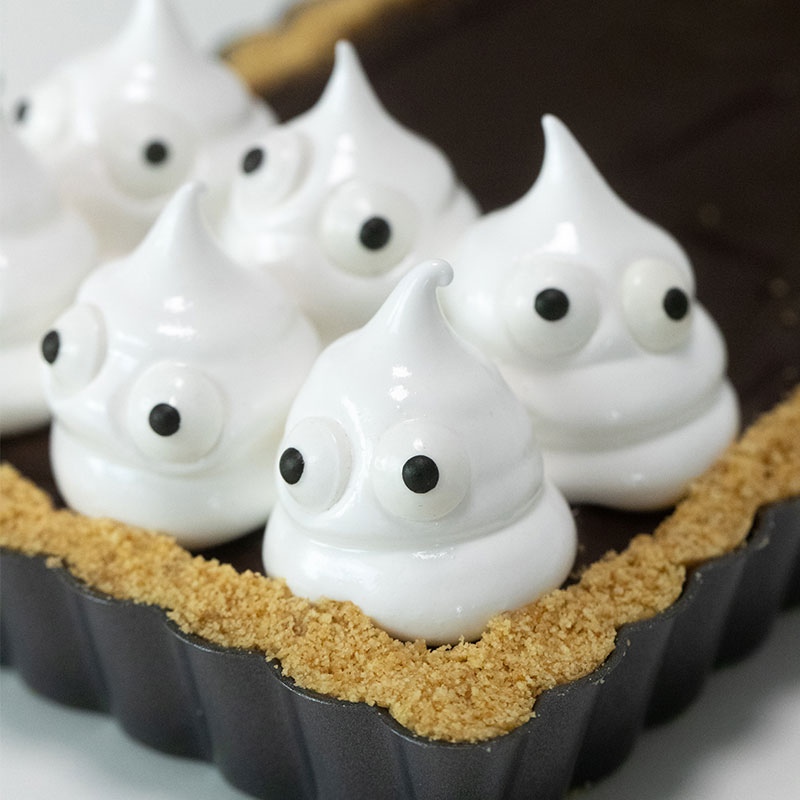
S’mores Marshmallow Ghost Tart
An adorable graham cracker tart filled with rich dark chocolate ganache, topped with little marshmallow ghosts!
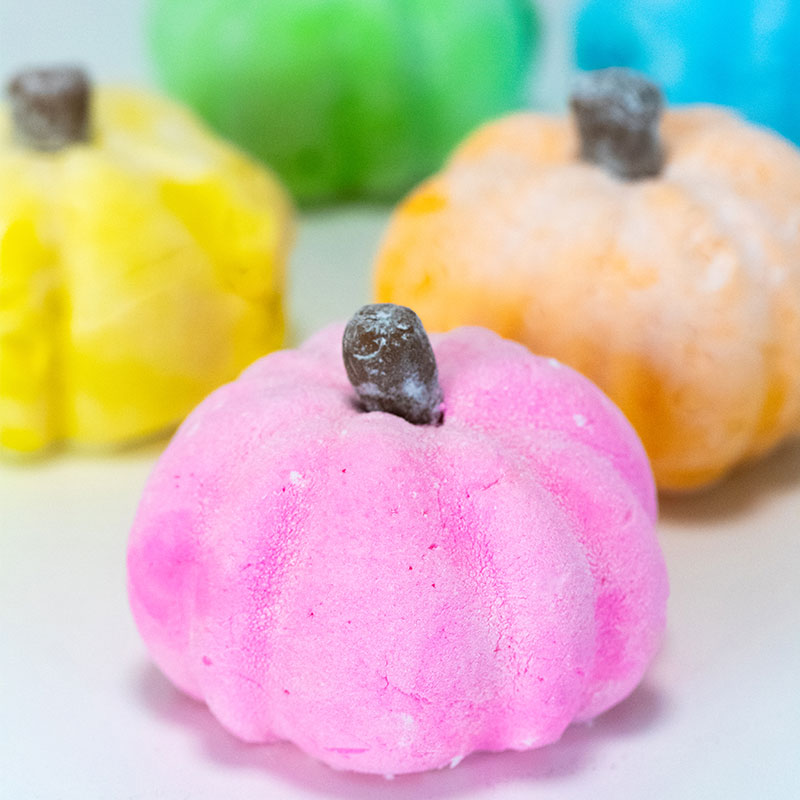
Soft, pillowy marshmallows shaped like cute pumpkins!

Perfect for vampires and zombies alike! These blood bags are filled with refreshing tequila sunrise, with a non-alcoholic option for the mini vampires in your life.
Halloween Mummy Brownies
Elevate your holiday party with these cute Halloween Mummy Brownies! Fudgy brownies topped with spooky homemade vanilla frosting and candy eyes are a fun and festive treat for any gathering.
Ingredients
Brownie batter:
- 8 oz semisweet chocolate
- ¾ cup unsalted butter melted
- 1 ¼ cups granulated sugar
- 2 large eggs room temperature
- 2 tsp vanilla extract
- ¾ cup all-purpose flour
- ¼ cup cocoa powder
- 1 tsp salt
Frosting:
- 1 cup unsalted butter room temperature
- 1 tsp vanilla extract
- 3 cups powdered sugar
Candy eyes
Instructions
Bake the brownies:
- Preheat the oven to 350F.
- Chop the chocolate into small pieces and place in a microwave-safe bowl. Microwave for 30 second intervals, stirring at each interval, until melted. Set aside.
- In a large bowl, beat the butter and sugar with an electric mixer until light and fluffy. Add the eggs and vanilla and mix until well combined. Add the melted chocolate and mix well.
- Add the flour, cocoa powder and salt and use a spatula to fold to combine.
- Pour the batter into an 8×8” square baking dish that has been lined with parchment paper.
- Bake for about 25 minutes, then place the dish on a wire rack and allow the brownies to cool completely in the dish.
Make the frosting:
- Place the butter in a large bowl and beat with an electric mixer until light and fluffy. Add the vanilla extract and mix until combined.
- Add the powdered sugar one cup at a time, mixing until combined, then beat for 2-3 minutes, until light and fluffy.
- Place the frosting into a piping bag fitted with a #45 flat piping tip. This will make the frosting look like flat bandages!
Decorate:
- Use a sharp knife to cut the brownie into 9 even squares.
- Use the frosting to pipe a zigzag pattern across the entire surface of the brownies.
- Stick two candy eyes on top of each brownie and enjoy!
Tried this recipe?Let us know how it was!

Hi everyone! My name is Cayla Gallagher and I’m the creator of pankobunny!

I’m In The Mood For:
@pankobunny
This error message is only visible to WordPress admins
Error: Invalid Feed ID.