
How to Make a 3D Chocolate Rabbit
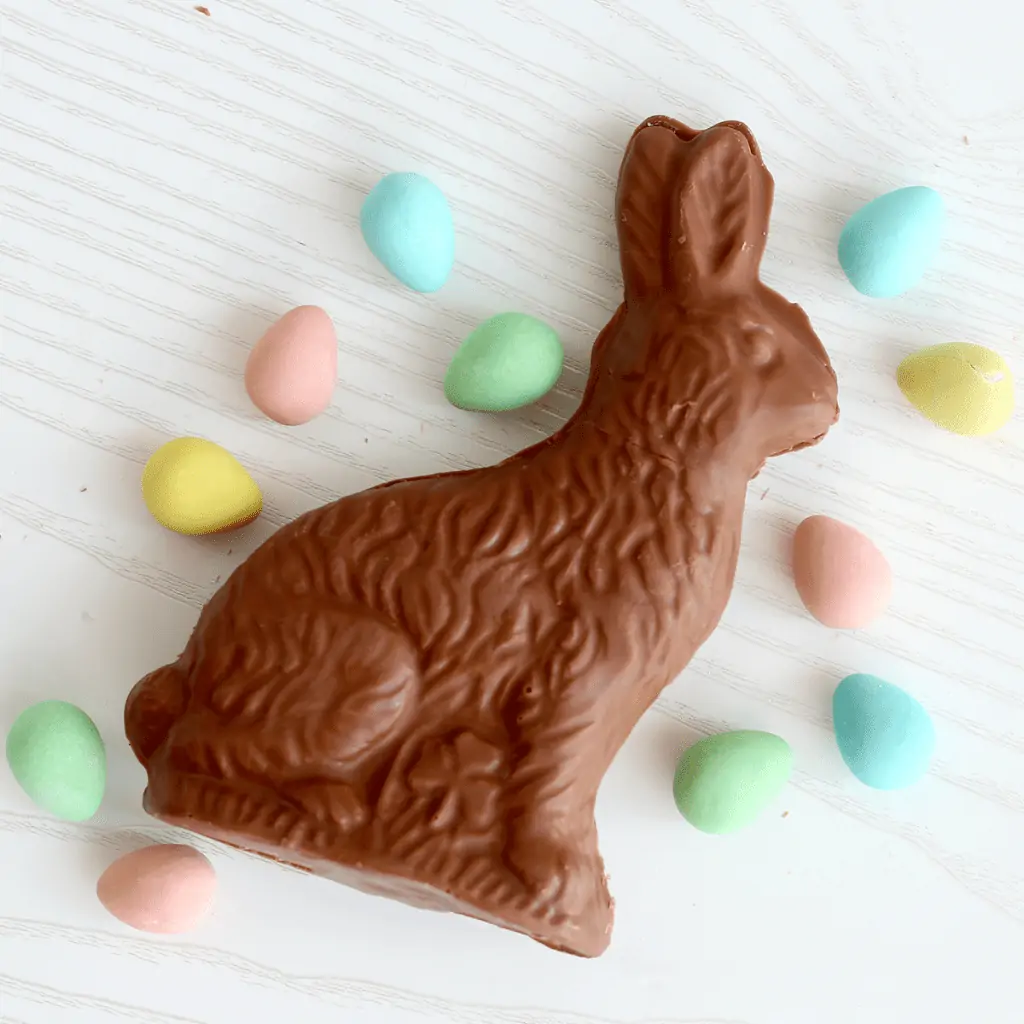
Today we’re making a homemade chocolate bunny! You can use any chocolate you like to make your dream, custom chocolate bunny. FULL RECIPE BELOW!
Ingredients
- Good quality chocolate
Instructions
- Place the chocolate in a microwave-safe bowl. Microwave for 30 second intervals, stirring at each interval, until melted.
- Pour the chocolate into a 3D bunny mold. Be sure to smooth the chocolate and make sure that the surface of the chocolate is flat. Tapping it on your work surface a couple times will help remove any air bubbles, as well as flatten the surface.
- Place the mold in the fridge or freezer, until the chocolate has fully set. If you are in a rush, the freezer will harden the chocolate in 20-30 minutes. The fridge will take slightly longer.
- Unmold just one side of the rabbit. Spread some more melted chocolate onto the rabbit that is still in the mold. Quickly place the unmolded rabbit on top. The cool temperature of the chocolate will make the melted chocolate harden quickly, so be sure to move briskly.
- Return the chocolate mold to the fridge or freezer for another 10 minutes or so, until both sides of the rabbit are secured together.
- Unmold and enjoy!
- Note: Because this chocolate is not tempered, it will need to be stored in the fridge until ready to eat.
Video
Tried this recipe?Let us know how it was!

Hi everyone! My name is Cayla Gallagher and I’m the creator of pankobunny!
I’m In The Mood For:
@pankobunny
This error message is only visible to WordPress admins
Error: Invalid Feed ID.


